Freind and I recently built up his 95YJ. AKA, the Rust J.
Being from the marinetimes, this jeep had a lot of rust issues even for a 95.
So far we have addressed a lot of the issues, but of course the odd problem from rust keeps popping up.
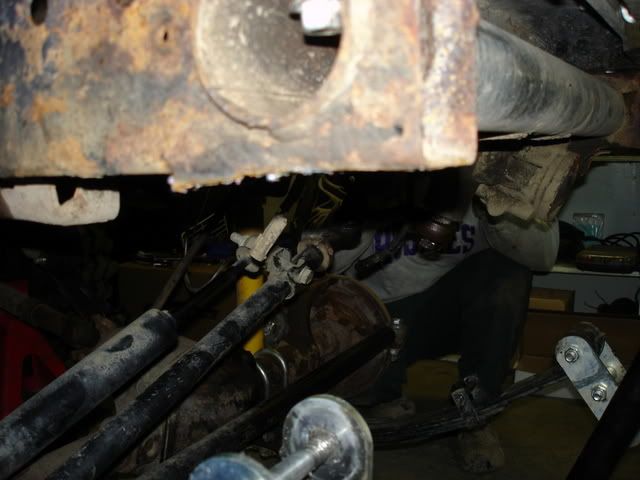
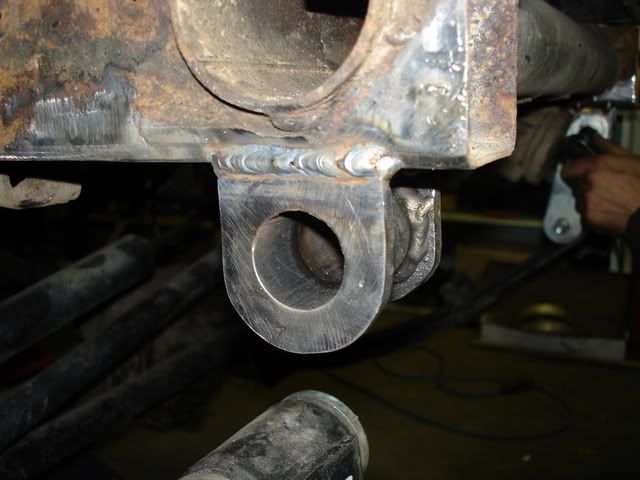
The latest one was a broken leaf mount off the front of the frame. Mike was climbing a hill and heard a sudden clunking from the front end. Turned out the leaf mount on the drivers side broke right off of the frame.
He wrapped it up and limped it to my house where we started the repair tonight.
Figured this might be a good write up with the amount of rusty YJ's there are rolling around out there

Tools you want for this mod are, basic hand tools to pull you bumper and shackles, a welder, plasma cutter/torch/hole saw, and a grinder.
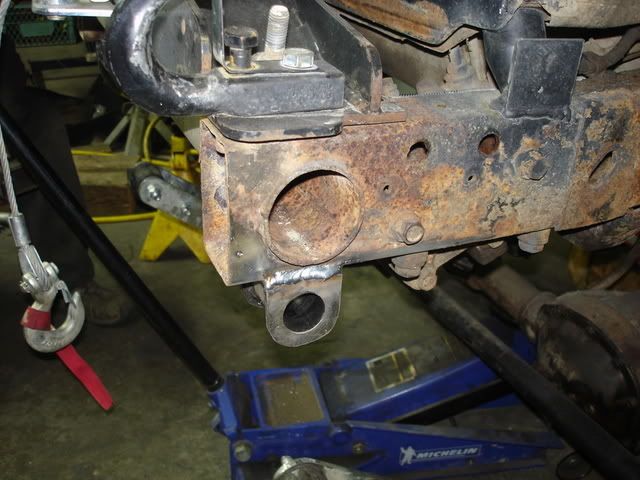
I didnt think to get a shot when the jeep was leaning over to one side, but this is a before shot

This is the broken mount

We used a plasma cutter to take the rest of the mount off, and a grinder to clean up the frame. The plasma just makes things quicker, a grinder will do the job.
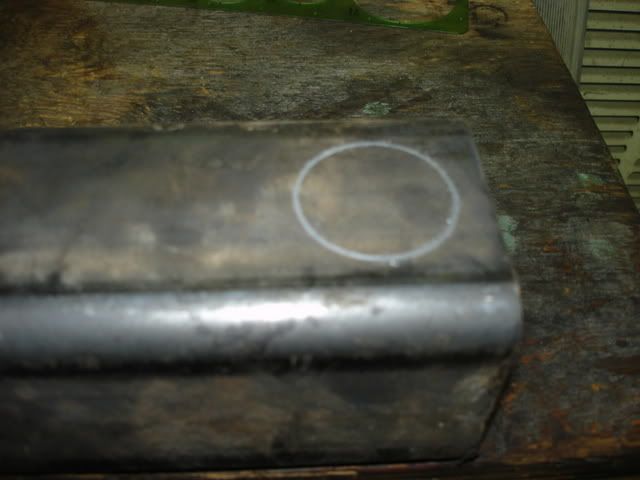
Make sure to take note of the stock location of the tubing before cutting things off. Its easy enough, 1/4" drop down from the frame, and dead center with the round crossmember in the frame.
Here is the other side, ready for grinding.
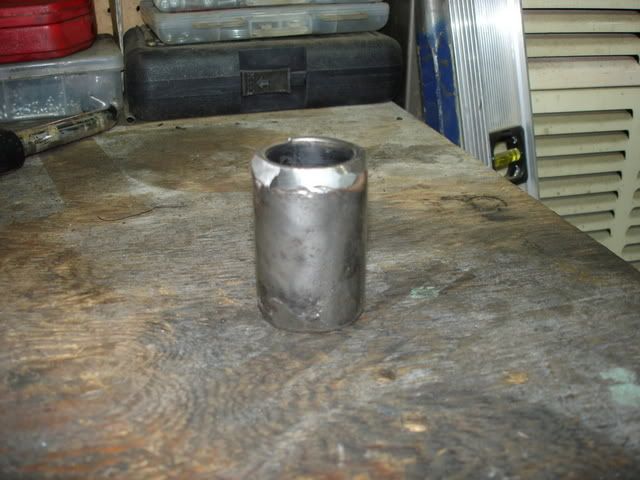
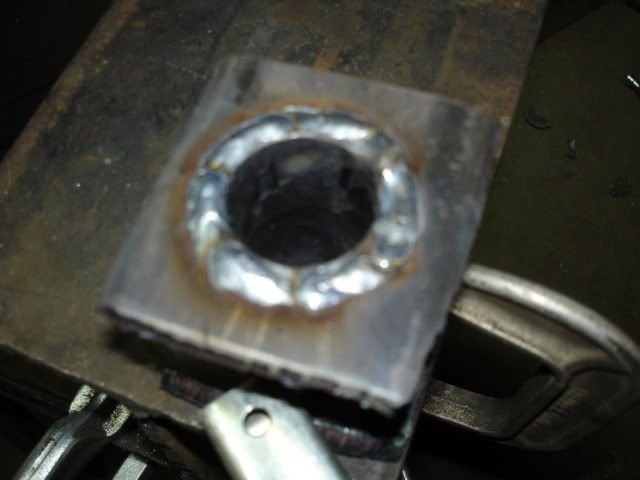
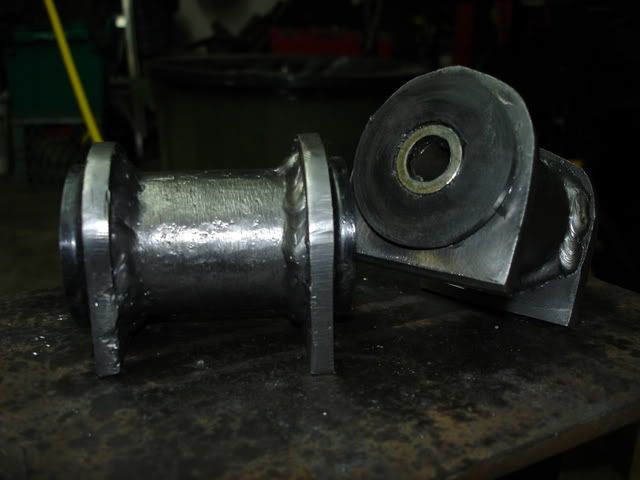
This is the original tubing that houses the bushing inside the mount. Cleaned and beveled, ready to weld.
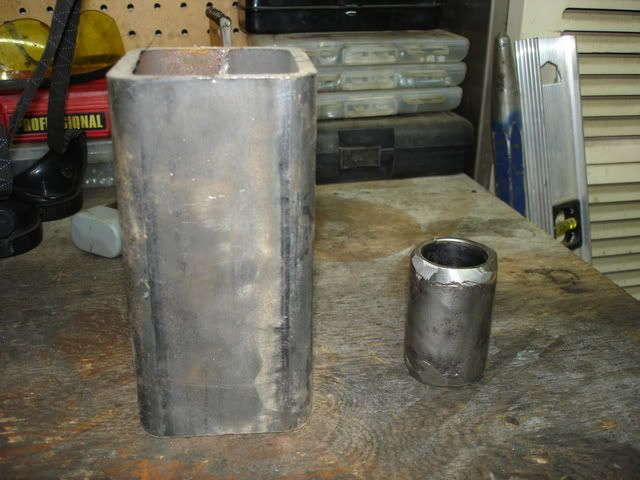
This is the 1/4" sqaure tube I had laying around, and decided to use for the new mount. 1/4" is overkill, and something like 3/16th's would be more then enough for this mod.
Next I marked out the hole for the tubing,and cut it out with the plasma.
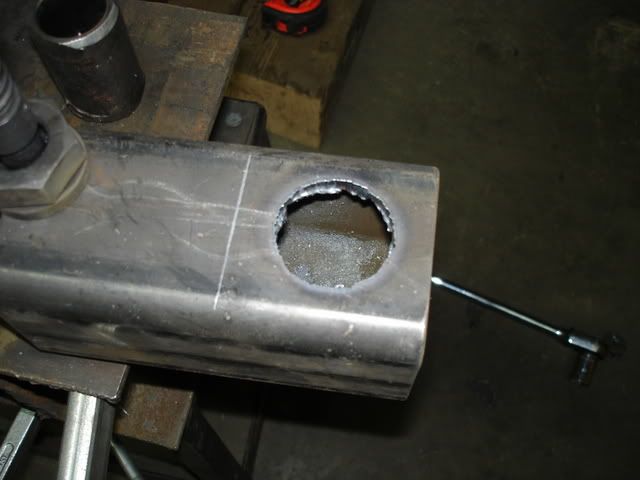
If you dont have a plasma or a torch, a holesaw will do the trick. I'd definately recommend 3/16's if going the holesaw route.
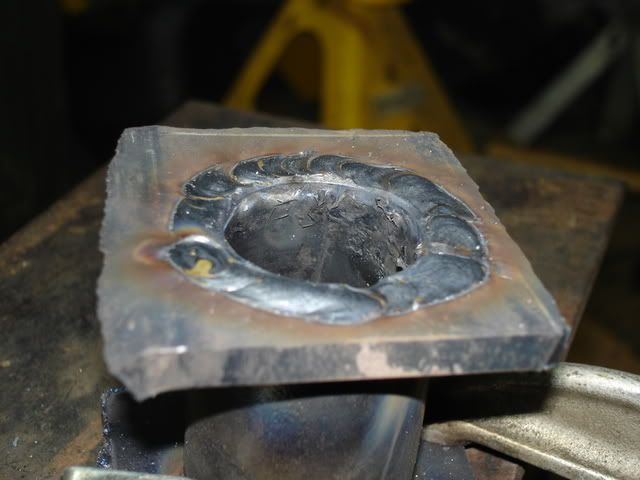
This is the tubing welded up to the new mount sides.
Tomorrow I'll finsih this off with attaching the mounts to the frame, and gusseting them for strength.
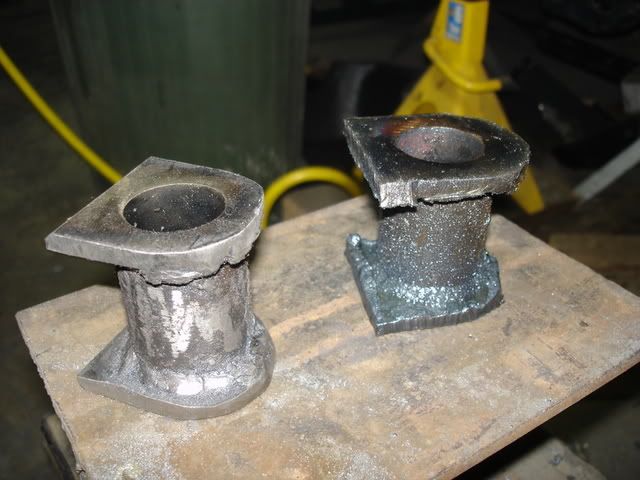
Got the mounts cleaned up and mounted tonight.
Using the plasma and grinder we rounded them off
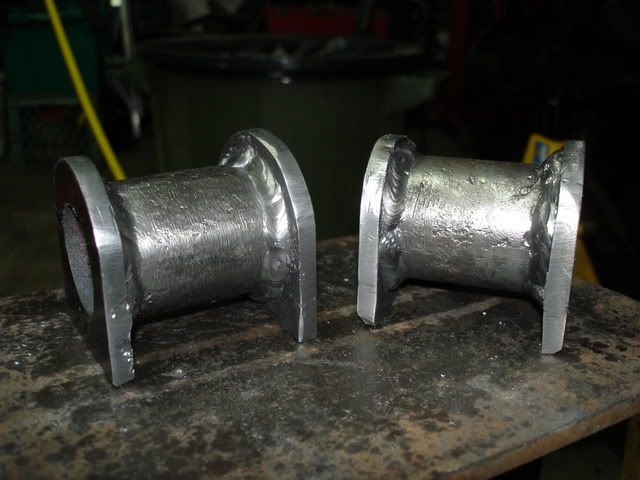
Next step was to simply weld them on to the preped frame. Here's a few shots mounted.
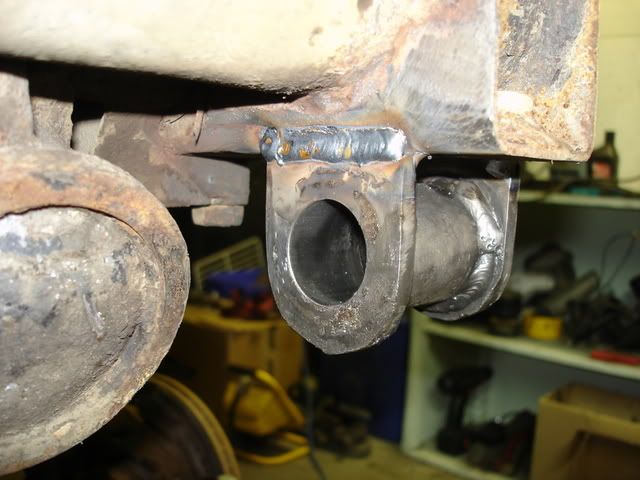
Tomorrow we finish it off with some gussets and she is good to go.
 Topic: Fixing YJ spring mounts, updated (Read 1156 times)