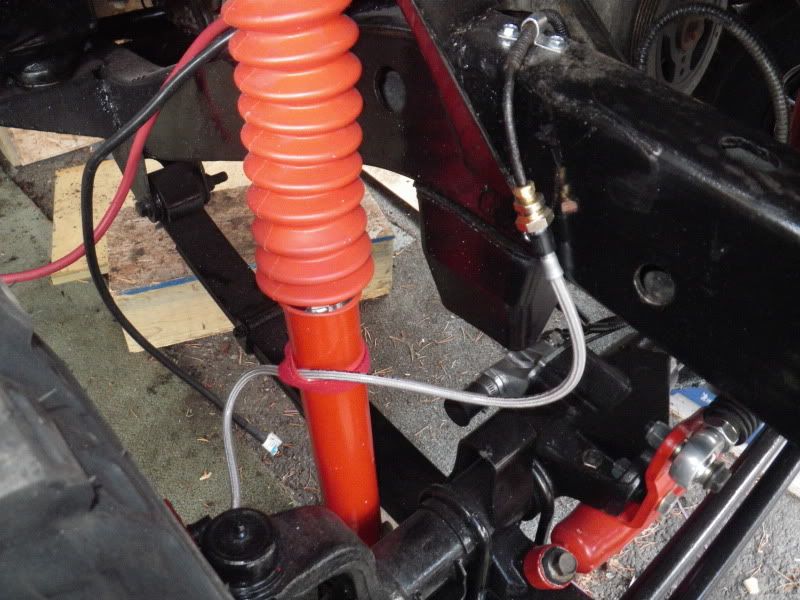
I wanted to get more done before starting this thread but "nobody" is looking for a homebrew posi-lok set up so may as well start there (and this is a logical place to put this info).
I realize everybody and there brother has done this mod but I like to think mine will work better than most due to my trial and error process and a few tidbits I learned along the way.
Partly out of need, budget, and being green when I can, I have tried to much of my build out of found or recycled materials. Excuse the Mall crawler aspects but everything was rusting, and for at least once in it's life, I'd like it to look decent so I decided to paint, uhhhh, everything...
I chose to go this route
- keeps the 4x4 light workin (I know, so what...really)
- Allows me to use 2WD Low
- It "auto" shifts back into 2wd
- better road drivability
- I like building stuff like this
If you go this route the trick is to anticipate needing 4wd and engage on a flat surface with very little (but some) steering wheel turn. don't force it, no need - so far this one works like a charm
My final cost for my homemade posi lock was $ 5.00 - realistically most folks should add another $30 for the locking cable. It should be noted that some experimenting was required, especially for the return spring tension. The likely potential failure is the shift fork, I have broken one before so I carry a spare. with this set up it takes about 10 minutes to swap the fork if needed.
I got lucky on my locking cable - a bell 212 broke a linkage while working out here one day and I helped the pilot fab a temp linkage and for that he bought a locking cable out of the shop here - we only needed a bit of the solid cable and housing so he gave me the leftover cable and handle which still had about 9' left on it...score !
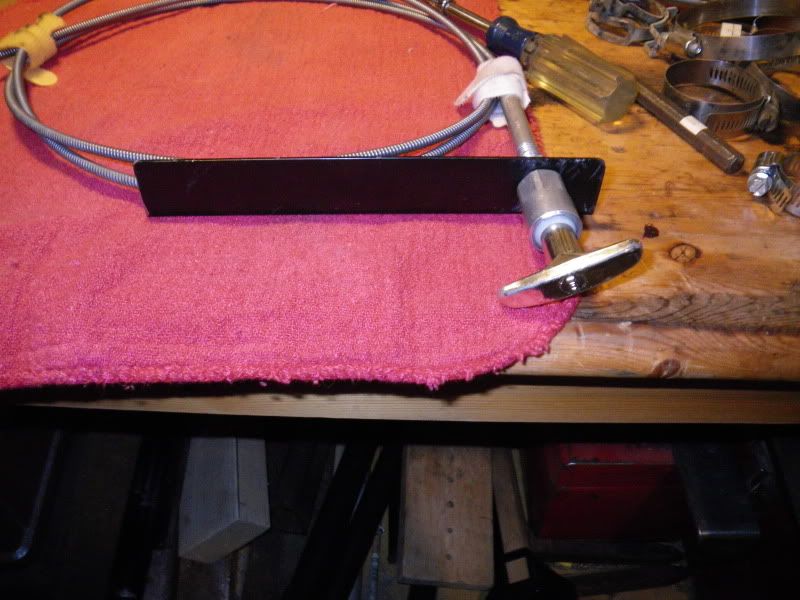
Using an old shelf bracket I made this mount (with room for more handles if needed) to mount to the under-dash rail (check future posts for a dash selectable snorkle/cold air using a rv wastegate I am rigging up for the fun of it)
The local bike shop let me rumage through a box of brake and shifter parts and I found this nice cable end that screws right on and has a cool rubber seal inside - the fitting itself friction fits insde the fitting I installed in the body so both the cable and shifter compartment are very well sealed. ( I think my first version failed from debris and water seeping in and eventually messed up the fork shaft - they let me have a handfull of various small collars and such for 2$ - the grommet is out of a PA variety pack
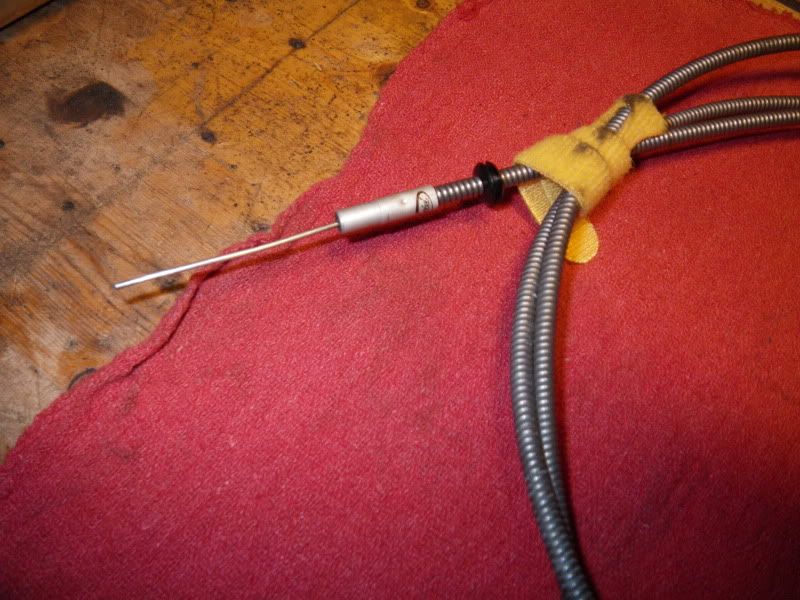
Here is the bike fitting I used for entering the body - I tapped this in so it is a fail-proof seal this time - I used a little rtv for the friction fit between the cable end fitting and this piece. The fitting is long enough to keep the spring from ever contacting the cable (inside the compartment)
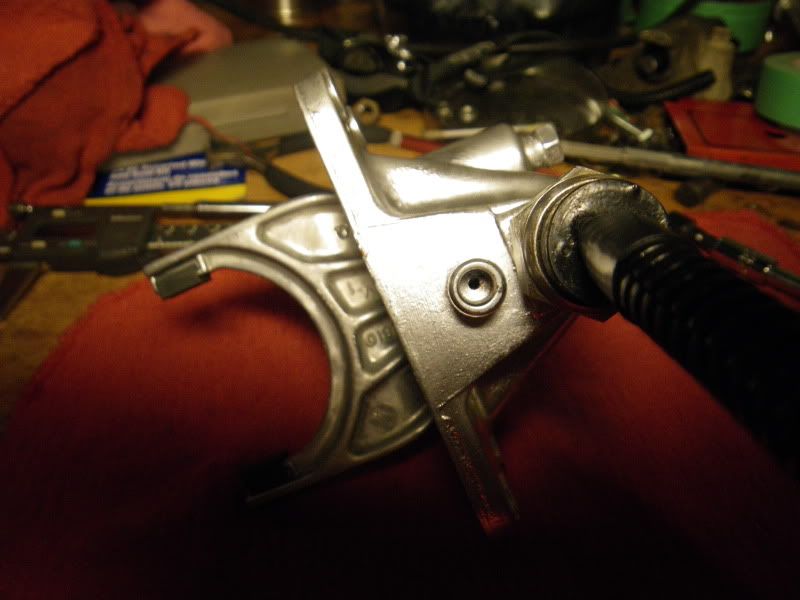
The spring came from a princess auto variety pack - I had to experiment a bit and ended up having to shorten a spring to get the best performance - I also found a small "something or other" which had a hole bore through and a flange that works perfect for aligning this spring perfectly against the fork - I found you really have to put some effort into making sure everything stays lined up perfectly or you can expect to have binding or jaming, especially on the self driven shift to 2wd. In my experience this particular part has proven essential. I was going to bore a small hole through a bolt but this little guy saved me the effort.
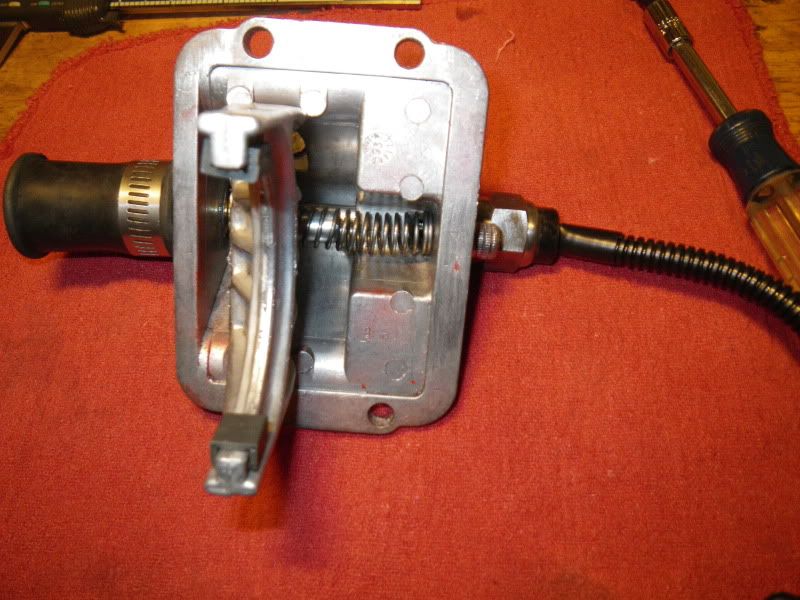
The last step I took was to eliminate the vac diaphram altogether - unused, I found it dried out and introduced friction - that and it really isn't neccasary anymore and a ding with a rock could mess up the whole works so off it went (zip wheel) - had to be carefull not to damage the shaft - to seal it up I found this old rubber tip off a walking cane (you could probable find them at a drug store or something like that) It is thick and I had to leave it in boiling water to get it soft enough to fit over the shaft end - I filled it with grease and used a standard hose clamp to affix it well. I took off the diaphram guard, the rubber tip is guarded by the axle itself and is out of harms way.
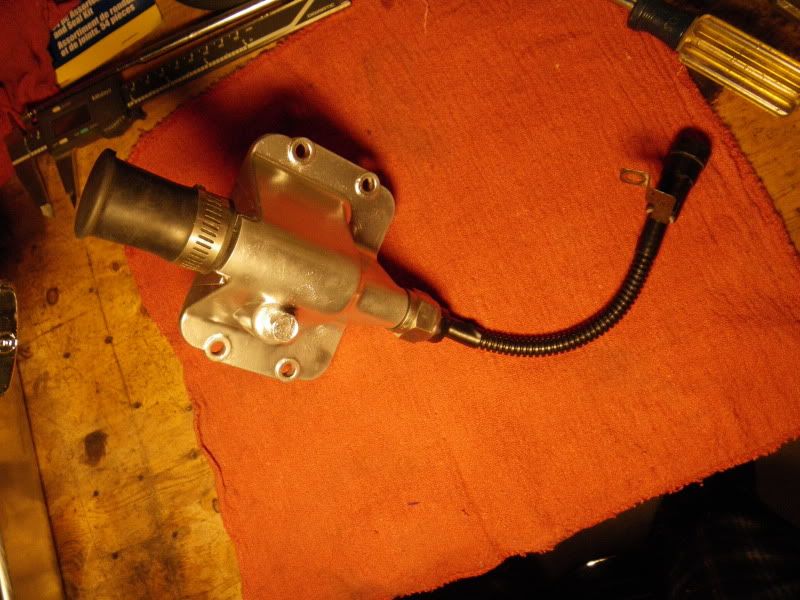
Hooking it up is simple - size your housing and make a smooth, no burr, and flat cut, put on the tip, measure and cut the inner cable and I just used a pair of needle nose plier to put a 90 degree bend in the end (about 1/4 inch). The hole in the fork should be loose enough that it return to 2wd easily but not sloppy
Here it is installed - since its so easy to do I'll check for water contamination once in a while despite the extra effort to seal it this time
