So I was looking for an upgrade of my steering, i looked at the Currie enterprises system, but its just a beefed up Haltenberger Steering linkage just like stock $399 US. I was also thinking about the teraflex high steer knuckles, but they are $400 each, so despite all the bad customer service rants I've heard about Rocky Road Outfitters, I have ordered the OTT steering system from them, and received the parts within 3 weeks $549 US
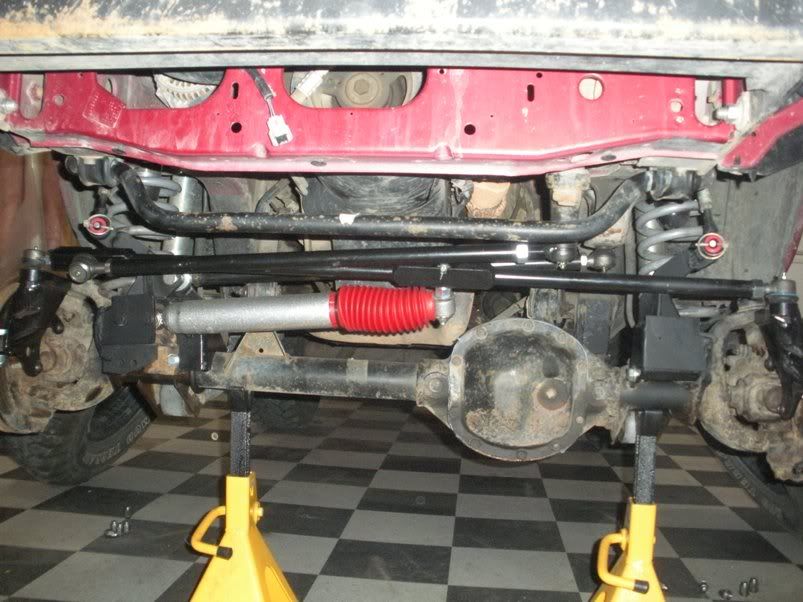
http://www.rocky-road.com/xjott.html as i began installing the system I've found some isues with the system, nothing major just small stuff in my opinion, nothing that a grinder wont fix to make the brackets fit better. The other thing I've found was that the swaybar mounts were interfering with the tie-rod when steering at full lock left or right, explained more with the pictures below. The only reason it was interfering was because i wanted to use my quick disconects, as oppose to the disconects that are provided by RRO which fit good and do not interfere. So I had to modify it by a little grinding and welding to make it work for me. Other than that I think it is a descent system for the money, and you get the over the top steering setup which is the main reason I went for this kit. The angles of the Track bar and draglink are spot on parallel. anyways onto the pictures.
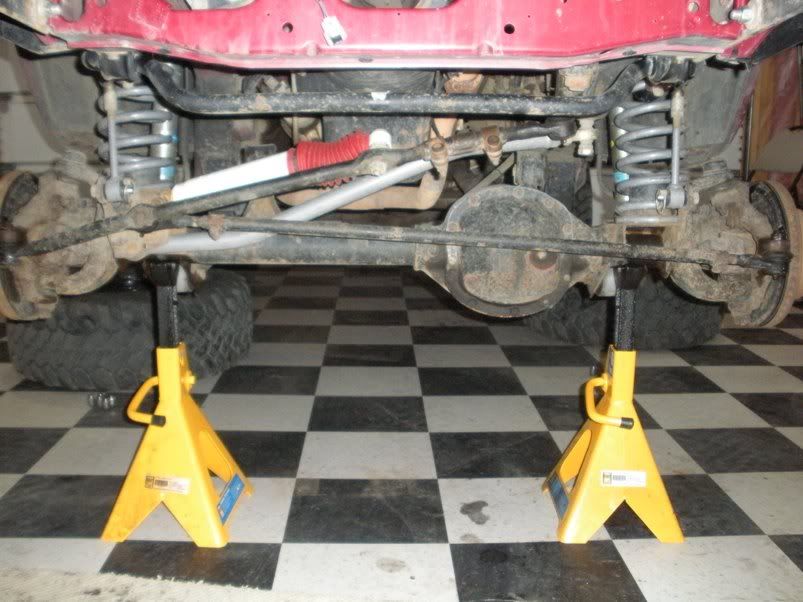
Stock setup, quite steep angles
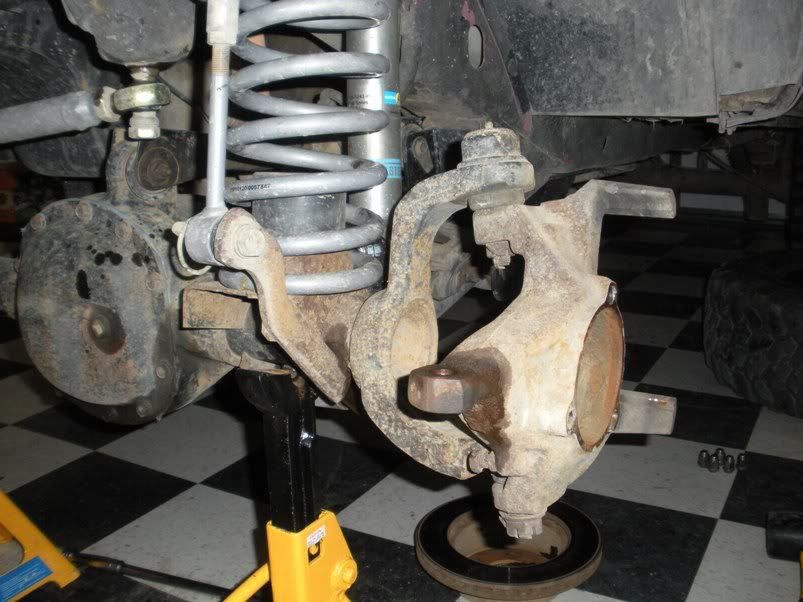
Bare knuckle to make installation easier
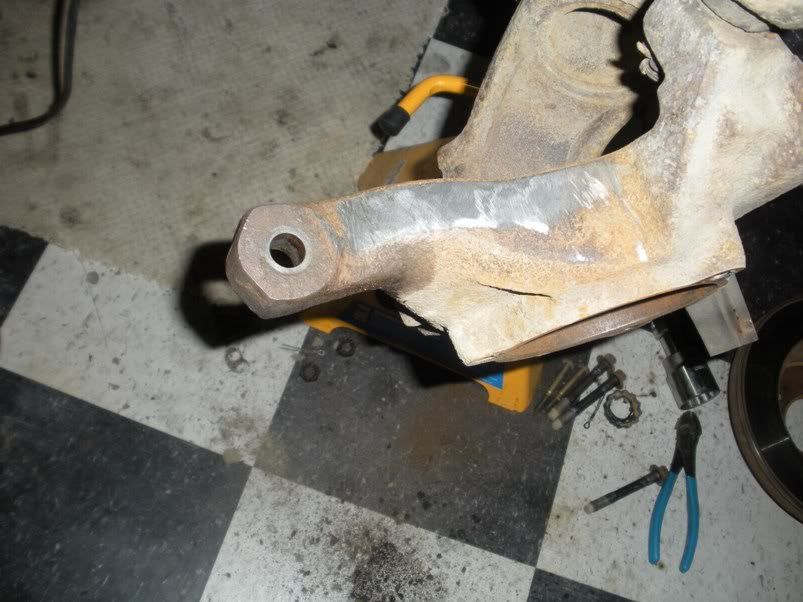
Grinding of the knuckle as per RRO instructions require the knuckle to be flat for the new high-steer knuckle to sit on there properly
Fitting the new knuckle
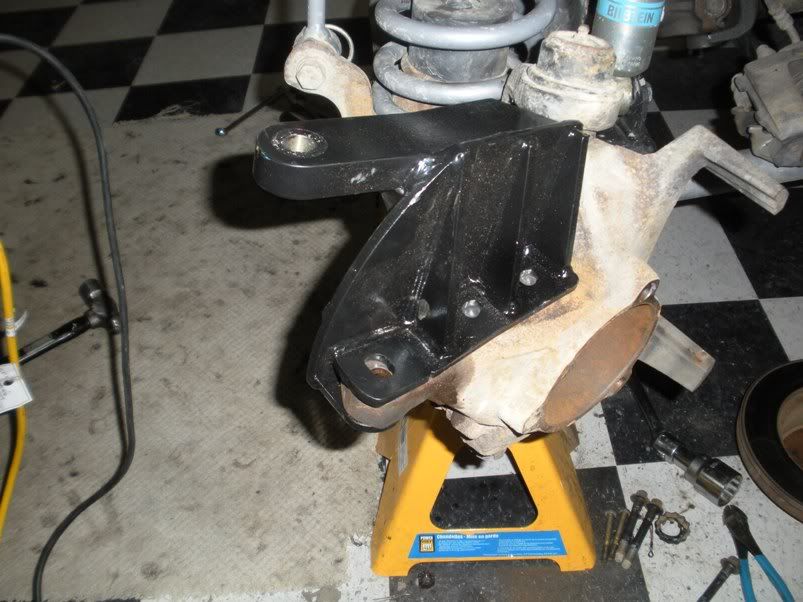
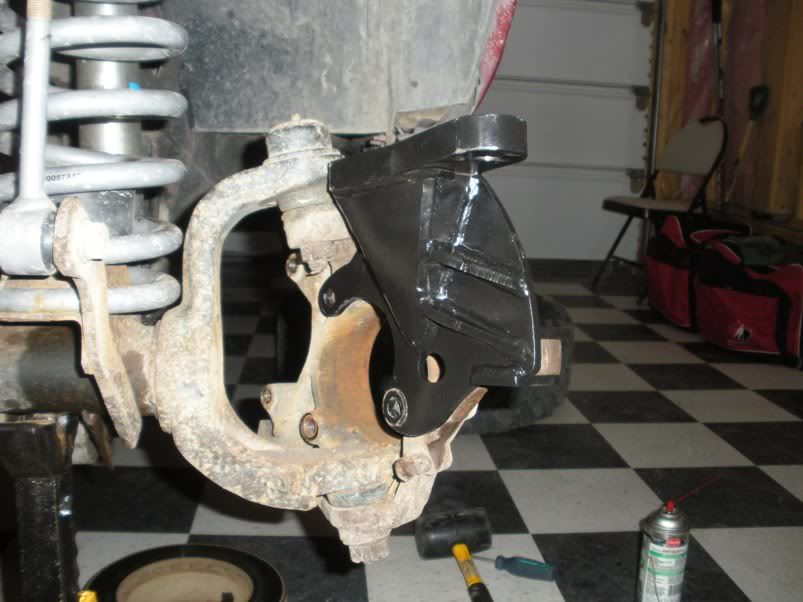
Depending on what style knuckles you have on your dana 30, you may have a little gap, but its ok because there is a shim included in the kit for the new knuckle to fit properly.
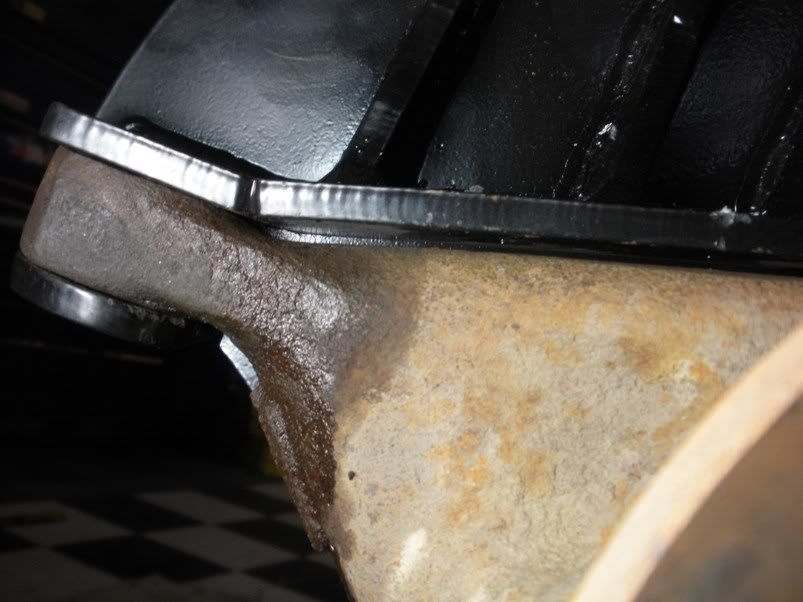
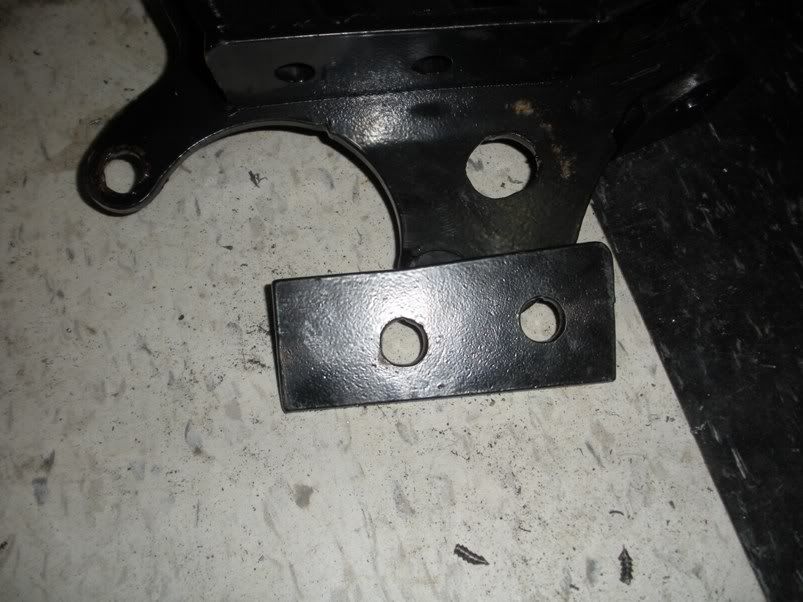
drilling and tapping required for the new knucles to bolt on
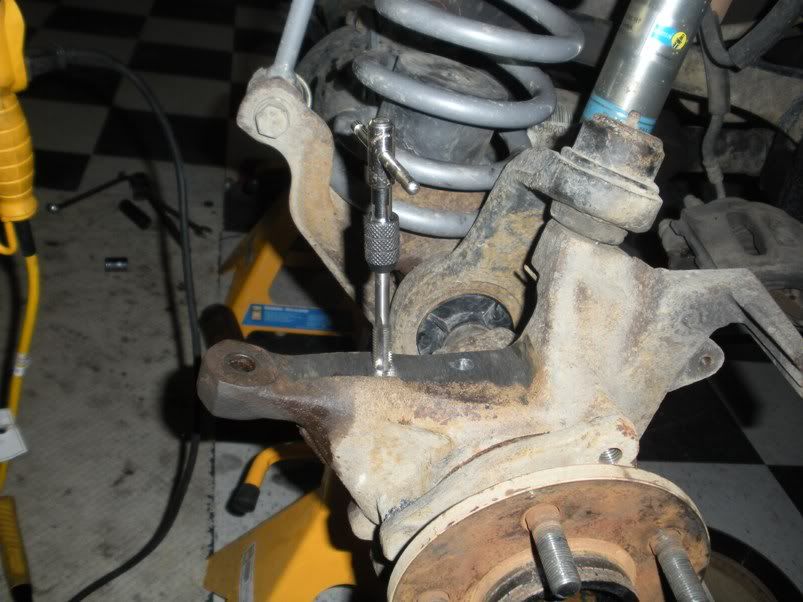
the knuckles bolt in 5 places to make it as tight as possible. two bolts on the back, and three on the top
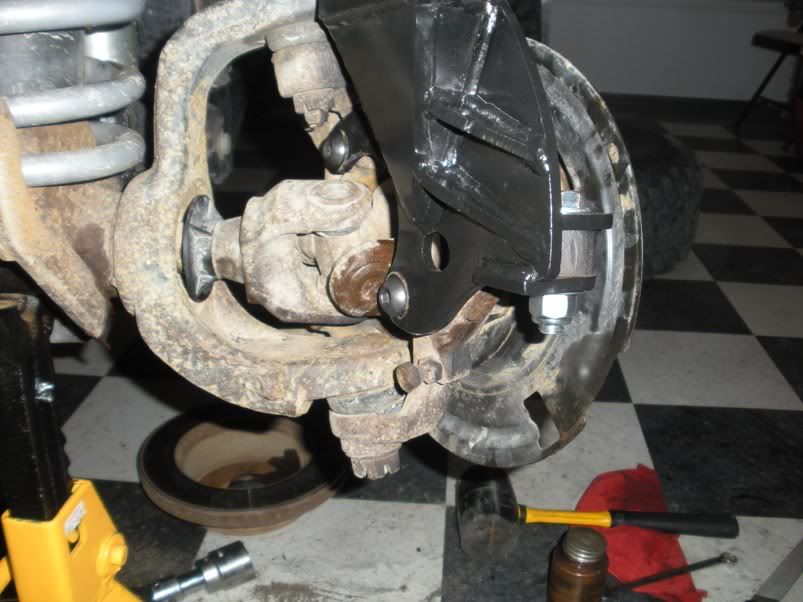
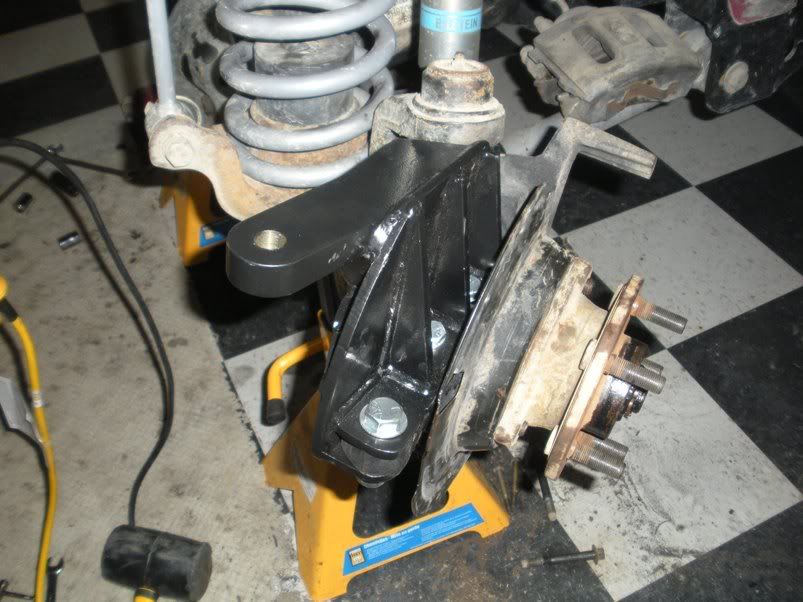
instaling the knuckles was easy and it took me maybe 2 hour to remove the brakes, axles, drill tap and bolt on both sides. Now the time consuming part was the brackets, lots of care had to be taken to make sure the holes were drilled in the proper locations and that the bracket fit perfectly, there was grinding and hammering involved. one thing ive found was that the pasanger bracket was very dificult to make it fit properly and one part of the bracket that sits on the axle tube was preventing it from sliding on all the way as seen in the pictures below.
Grinding away a pice of the stock bracket as per RRO instructions
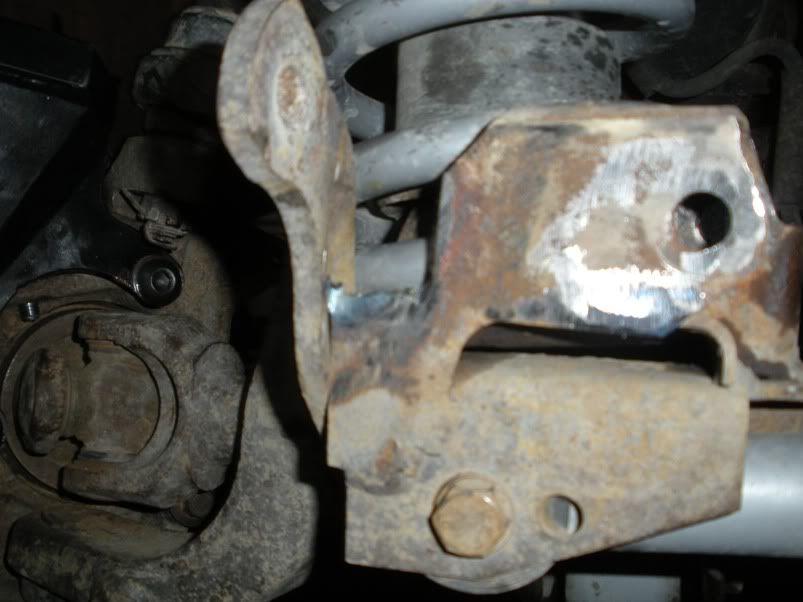
this is the part of the bracket that gave me some trouble and did not allow the bracket to slide on all the way, but some hamering and grinding i made it fit.
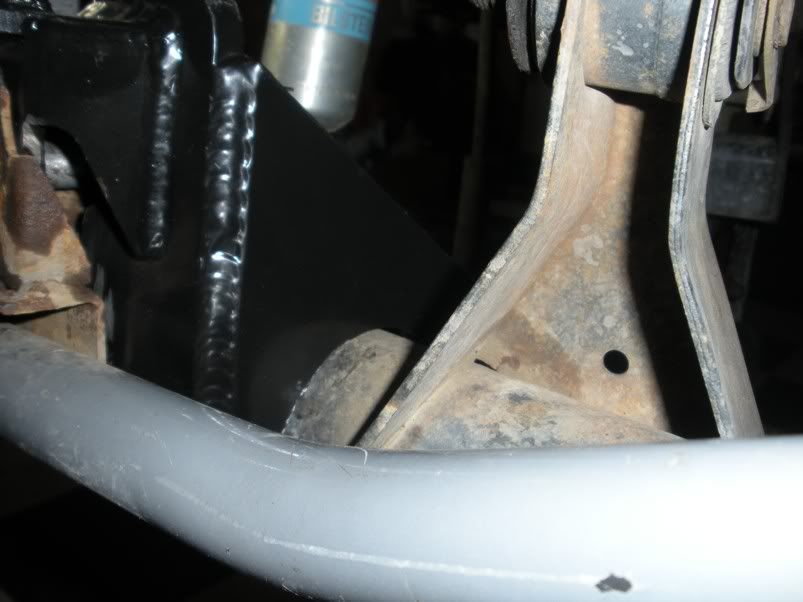
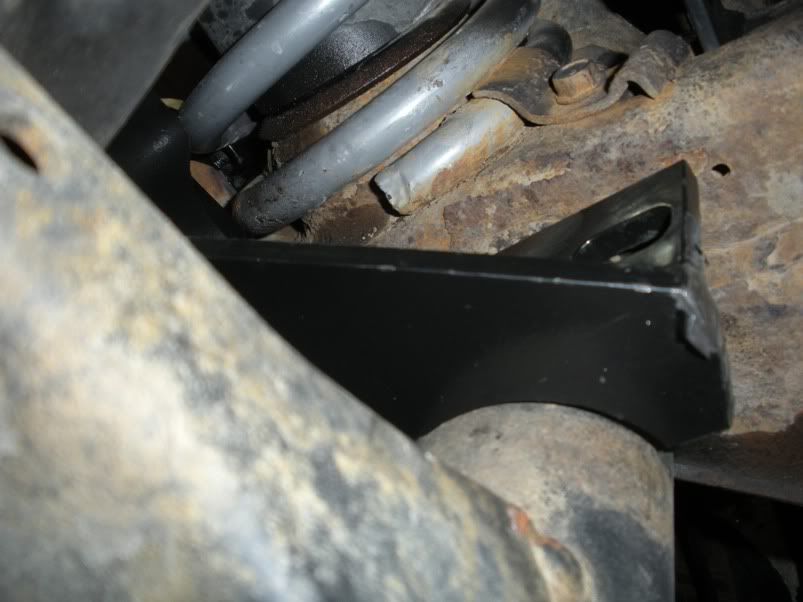
as you can see in this image what i mean by it not sliding on all the way even if you try to hamer it on. it was due to the part of the bracket in the above two pictures not welded in the right spot in my opinion, it was off by a 1/4".
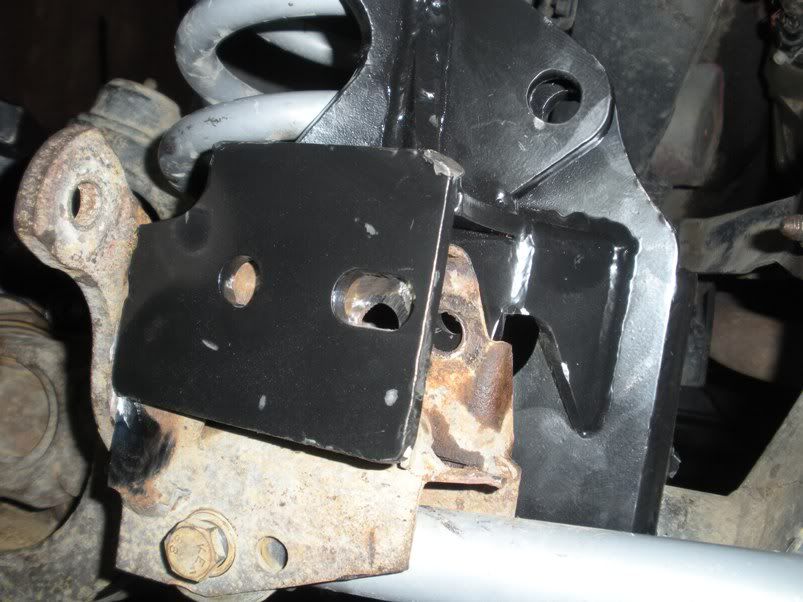
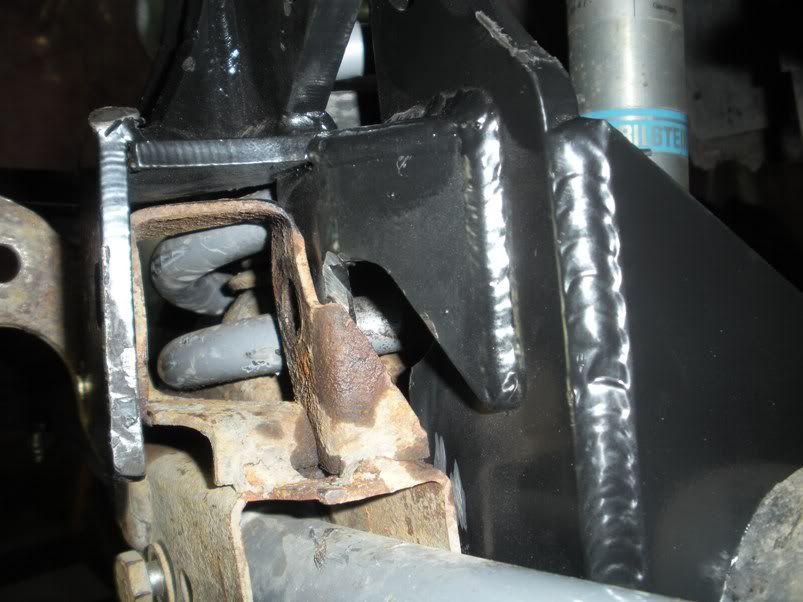
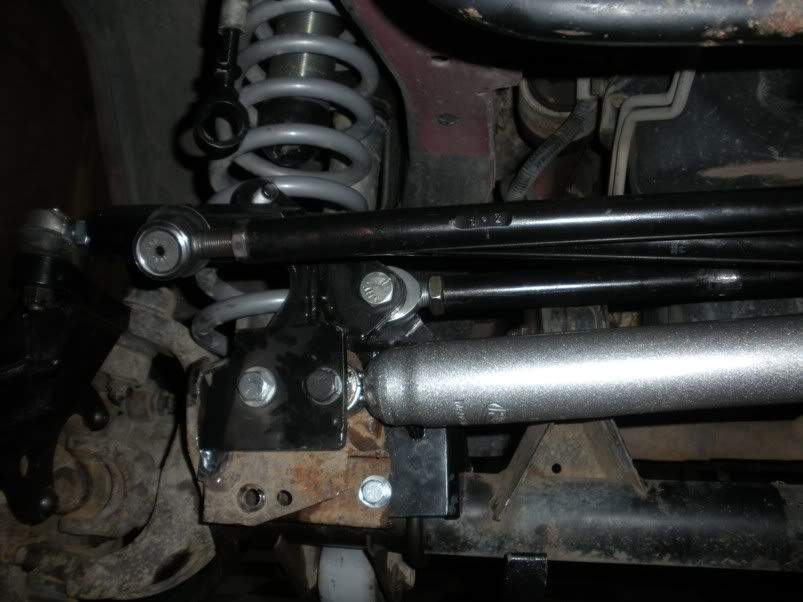
the bracket sits verry close to the coil spring. no rubing, but close.
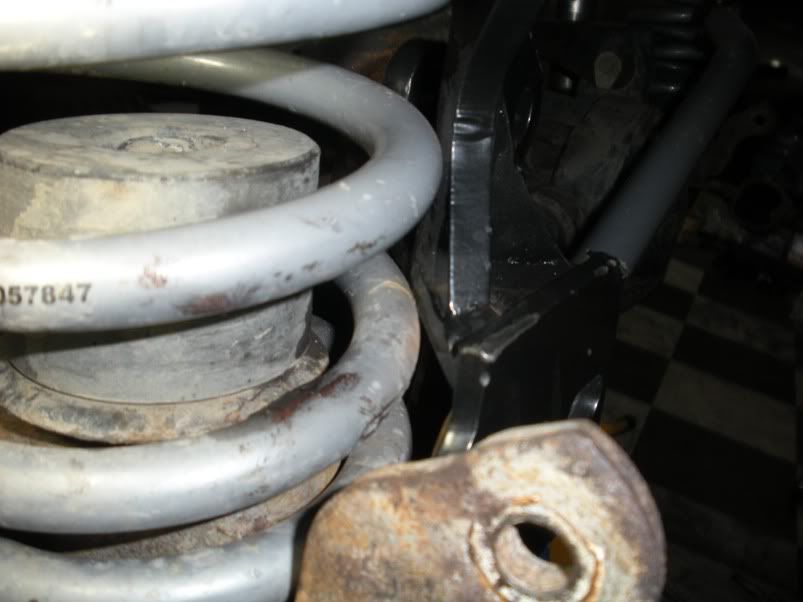
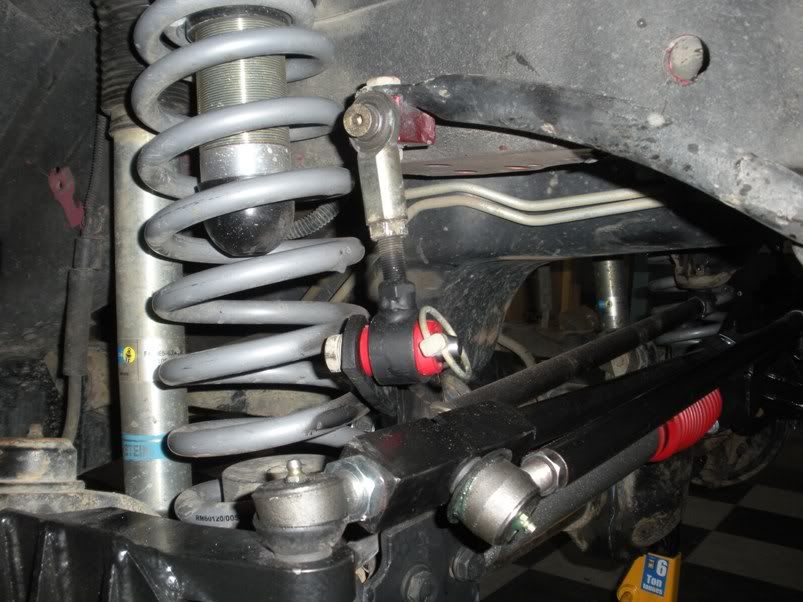
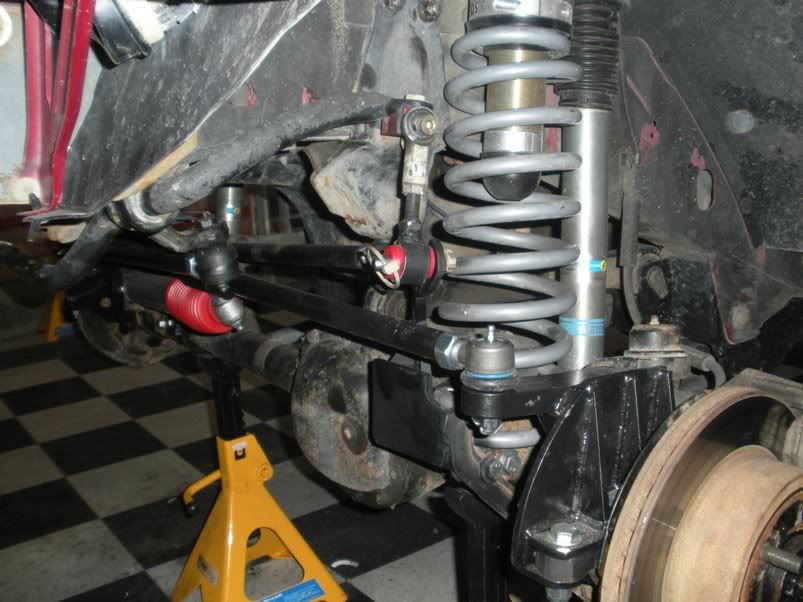
this is where the swaybar connects interfear with the tie-rod when steering wheel at full lock, so i had to cut the bolt off and weld on my own piece for the swaybar to connect a little higher.
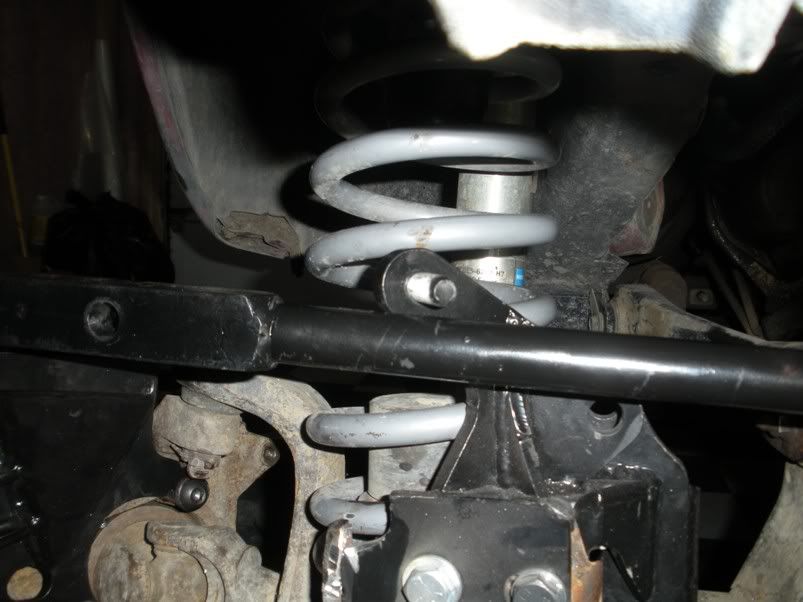
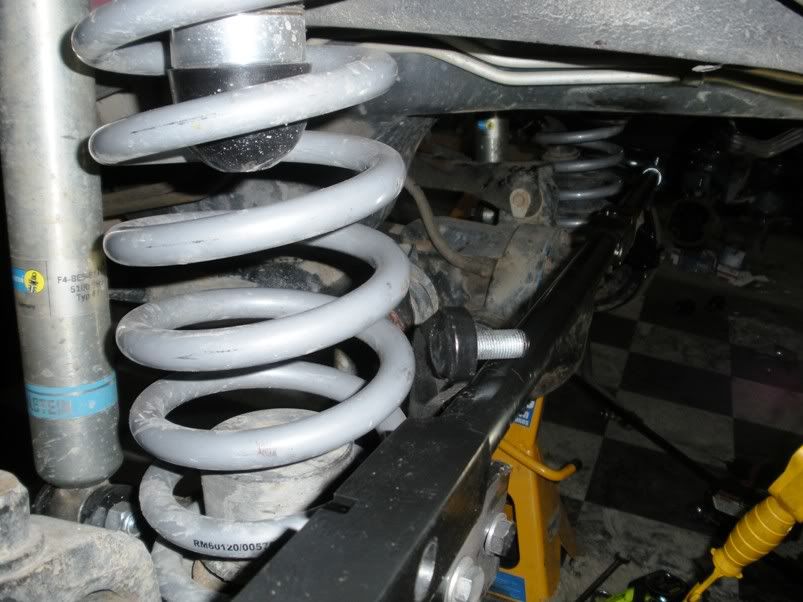
here are rest of the pictures of everything instaled and new swaybar disconects welded on and modified RE second Gen disconects.
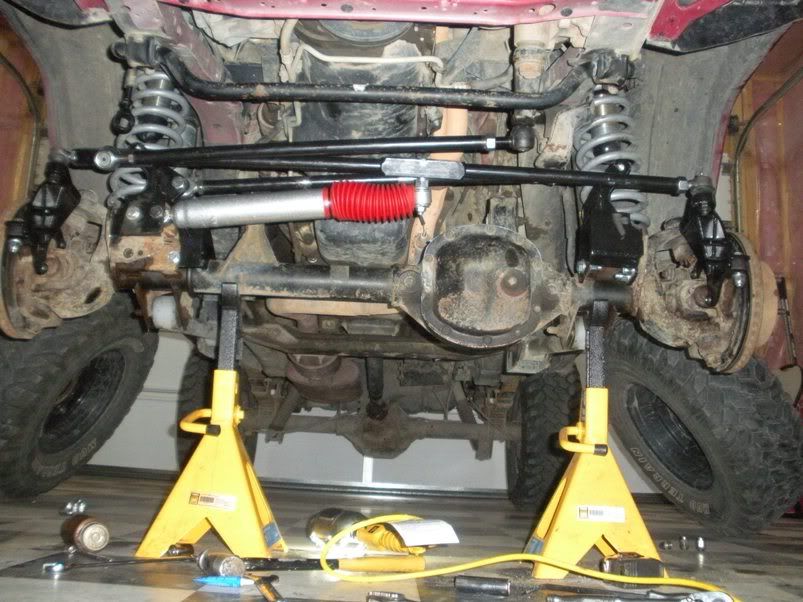
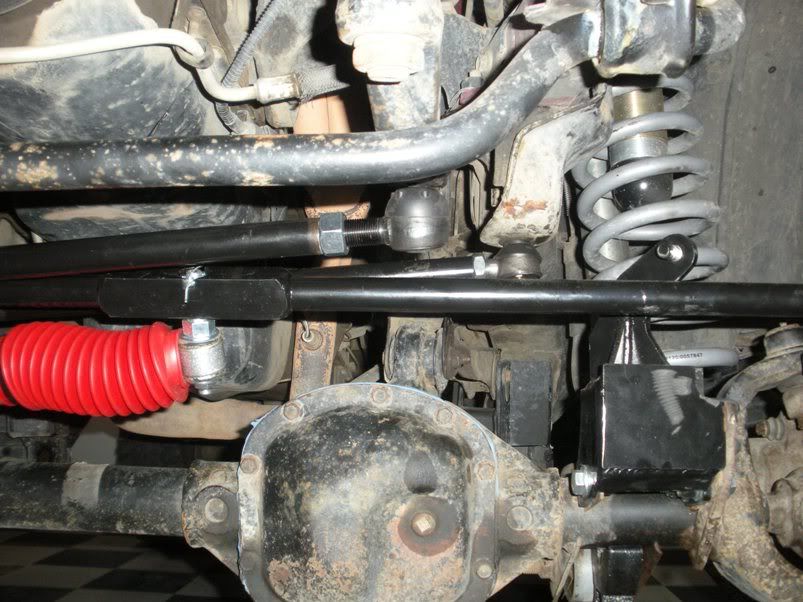
If anyone has any questions or maybe some sugestions to the swaybar modification, please feel free to ask and comment.
Besides the few modifications, the kit was fairly easy to install and it seems to be performing well so far. not bad for $549 US