This is my first Jeep project, so taking it nice and slow.
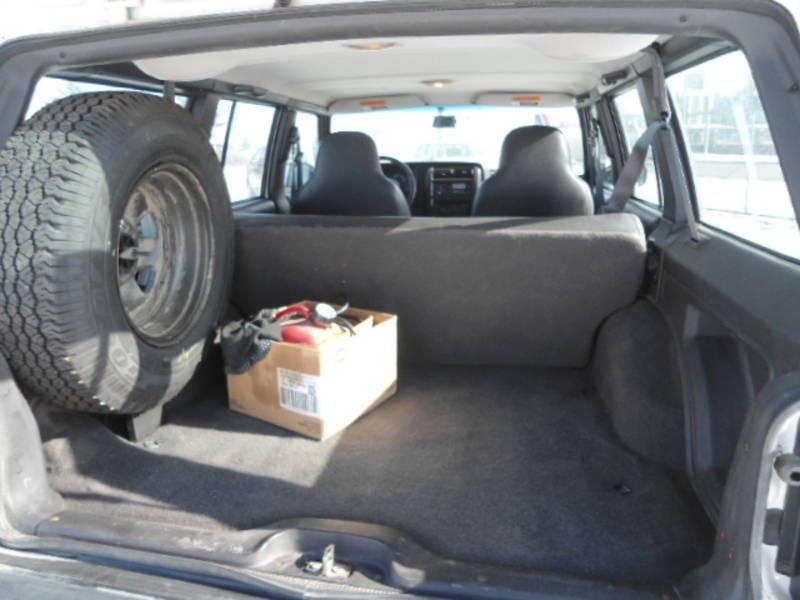
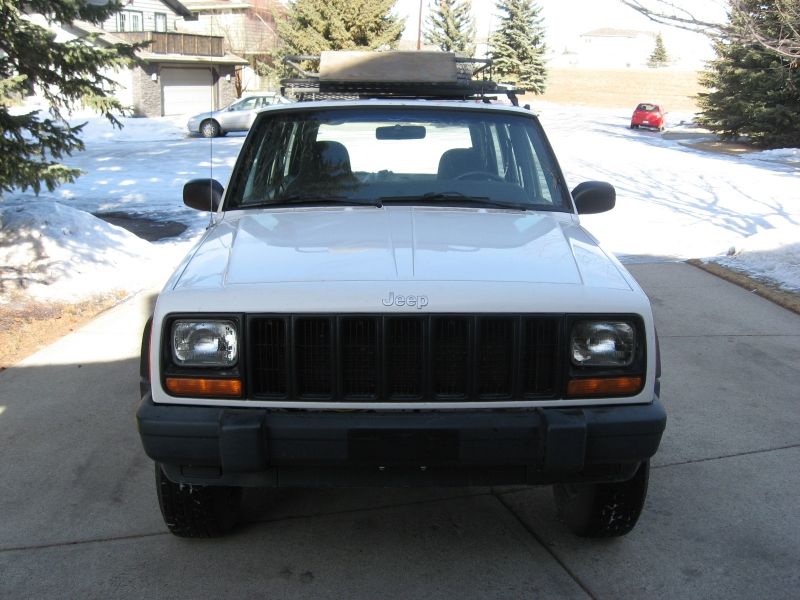
So I acquired this Jeep in April of 2012 from a local fleet dealer. It had 140,000km. It is the SE model. 4.0 inline six, auto, 231 tc, d30/d35, ABS, factory skid plates, A/C, manual windows/ locks, pwr mirrors, cloth interior. Pics are of the day I bought it.
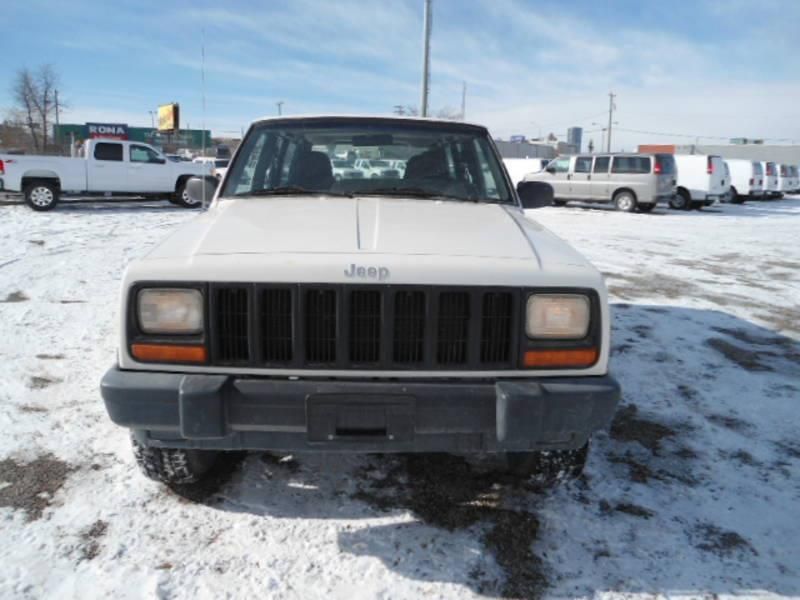
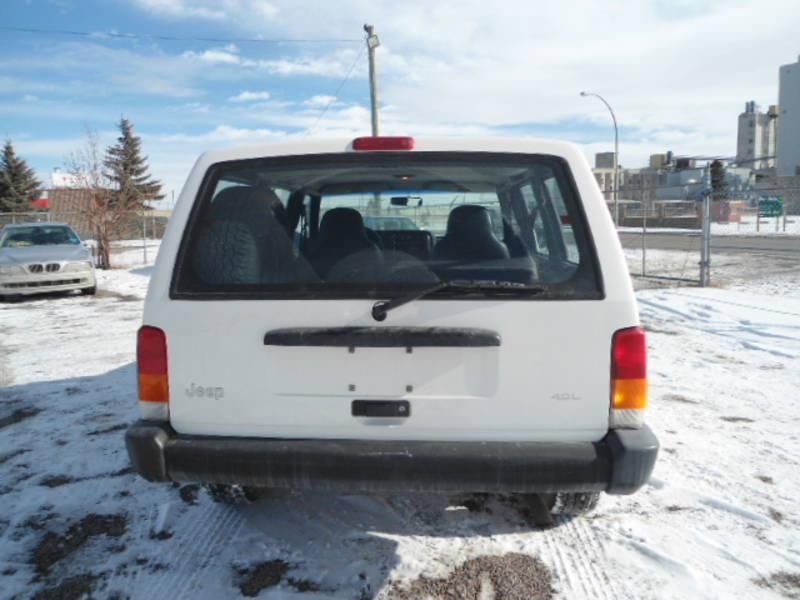
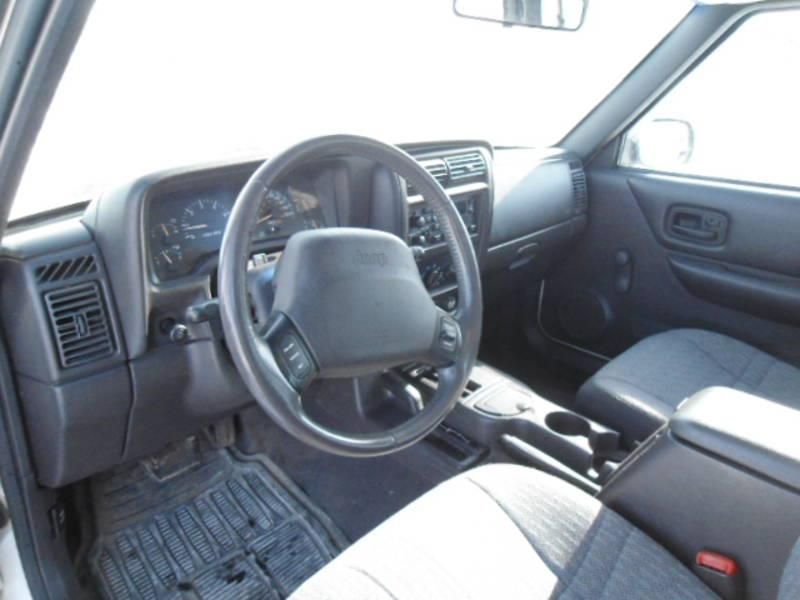
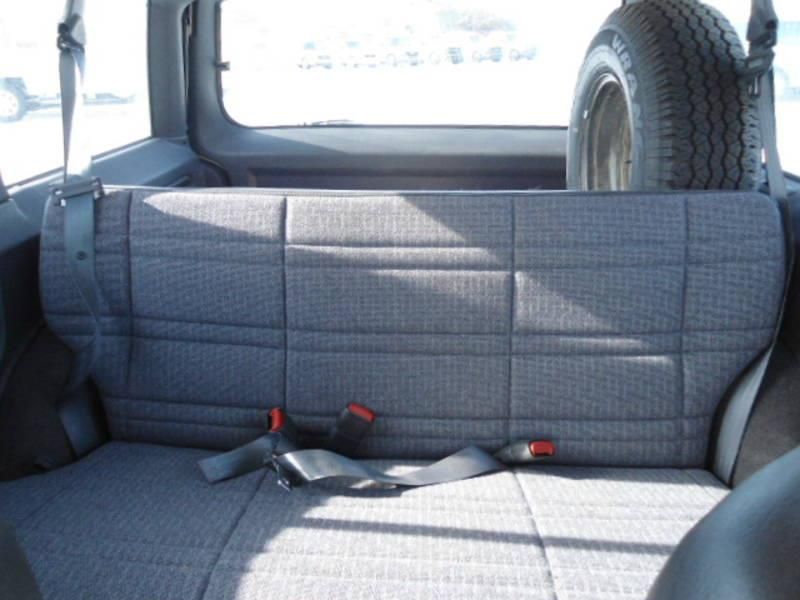
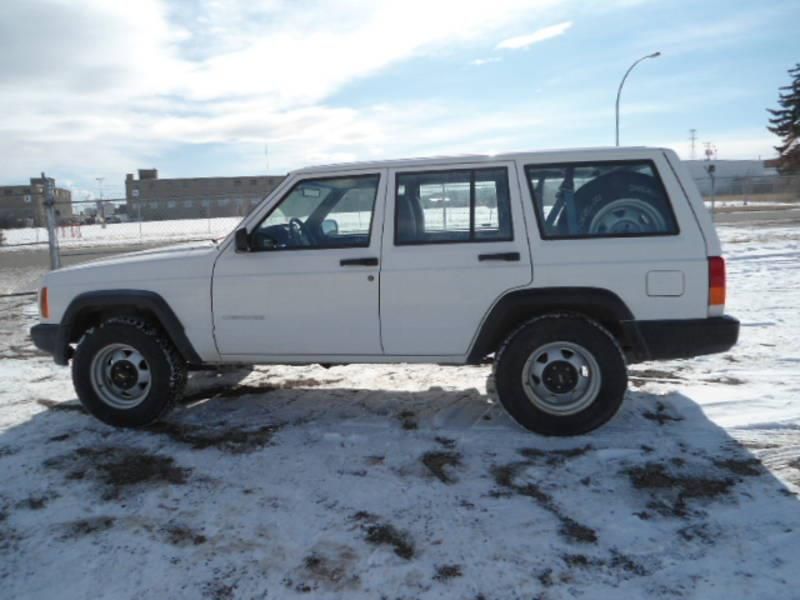
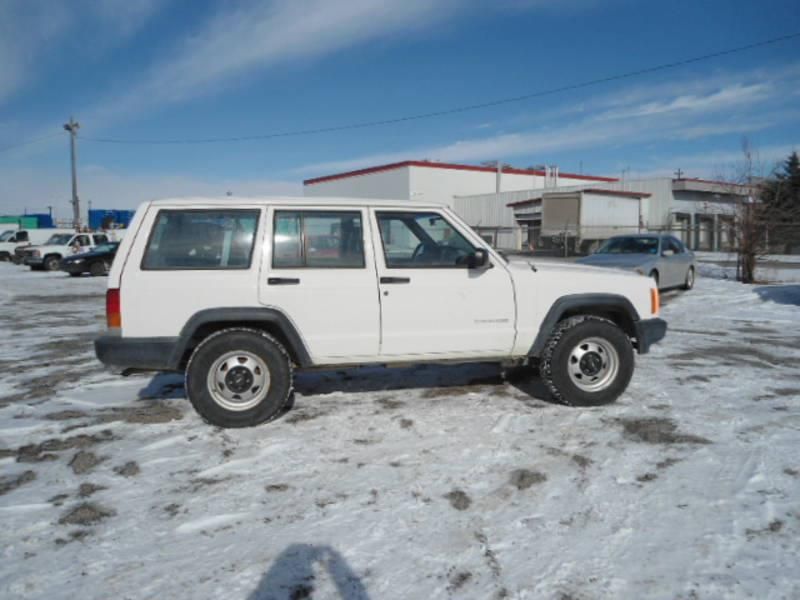
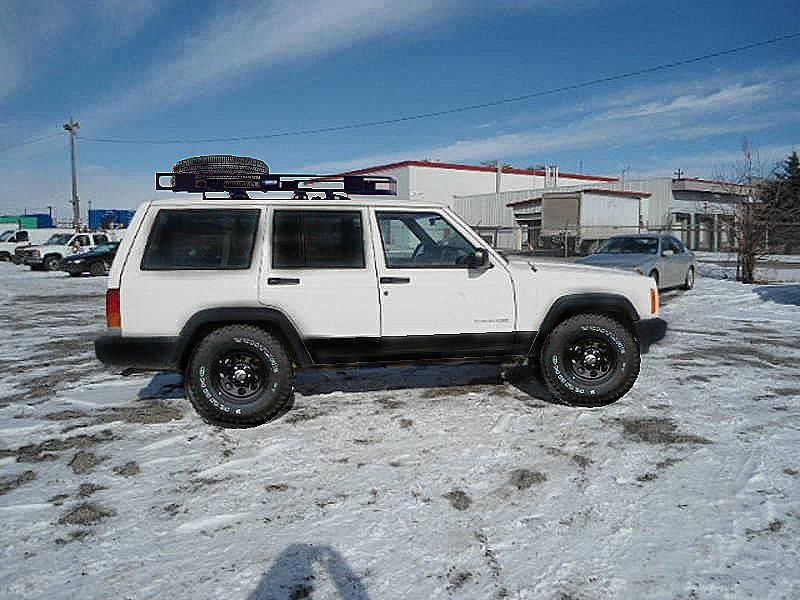
A quick photoshop of my intended outcome
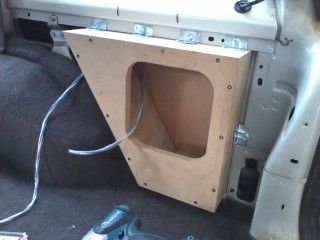
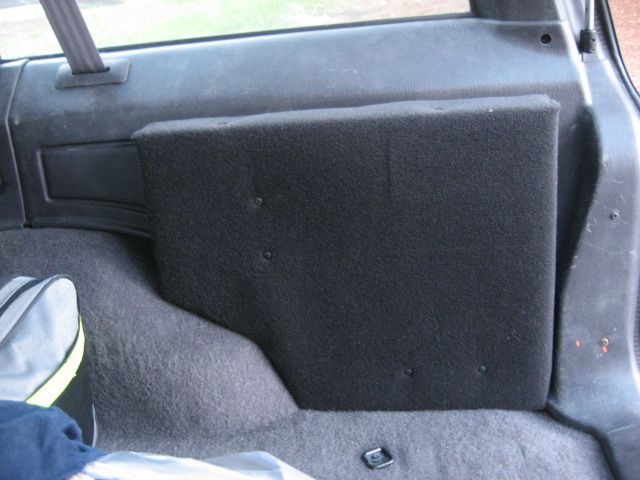
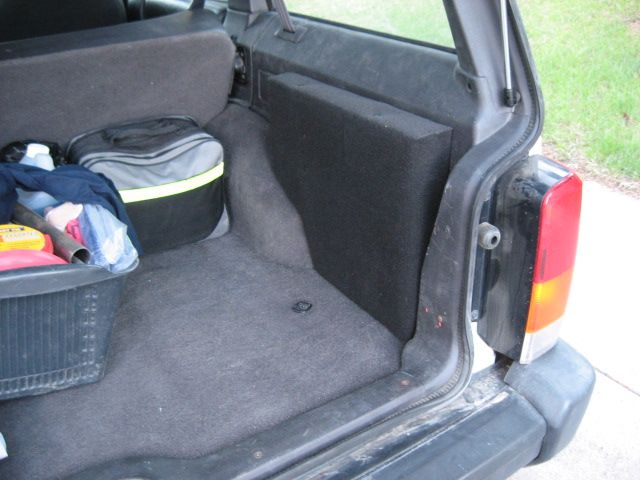
I researched for some cheap mods to start with and found a cubby sub write up. I liked this since I had my old sub box from my car taking up 1/3 of the rear cargo space. I cut up my plastic trim, built a box out of 3/4" mdf, sealed it with silicone, mounted to the metal and than covered it with black carpet I had sitting around.
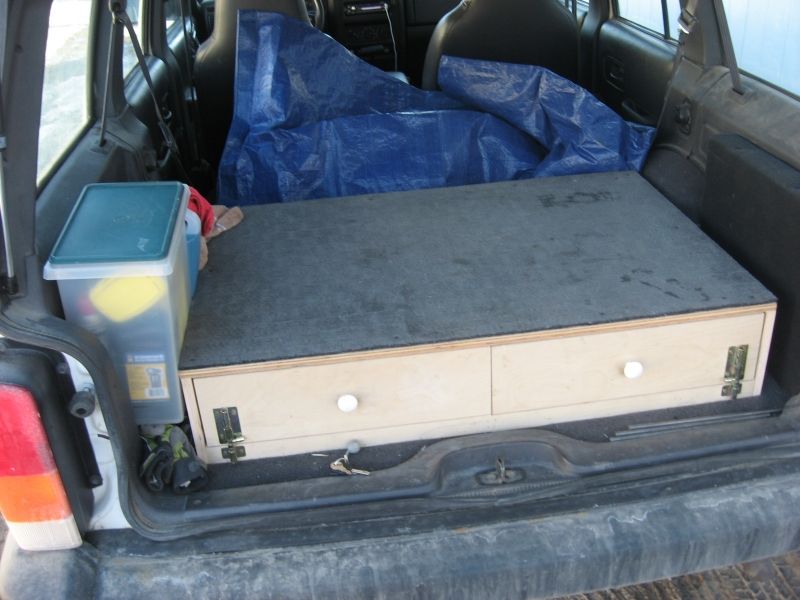
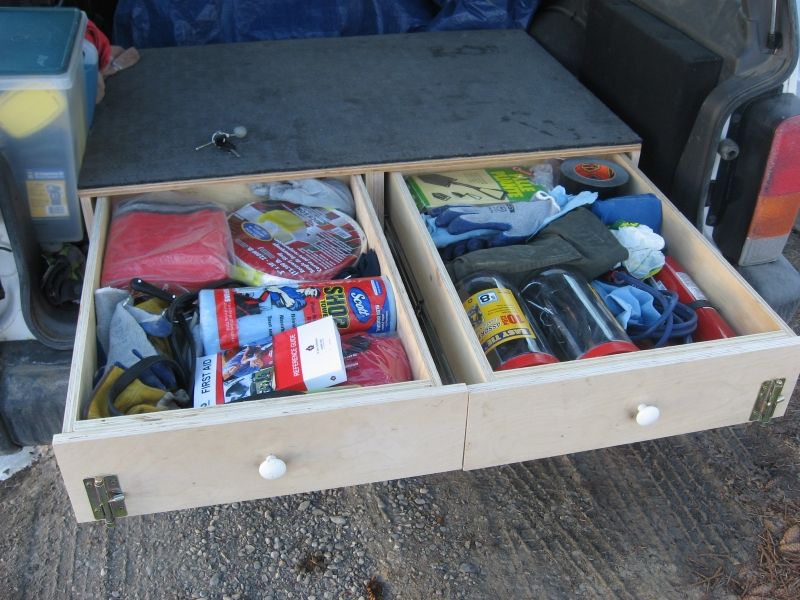
I had 2 milk crates sitting in the rear cargo area filled with various fluids, tools and odd and ends. This really got in the way so I looked for a shelf or drawer system. Found a couple designs and just decided to build one with drawers. This way I could have stuff on top and still have full access to the unit. I built my drawer unit to be 28"x42"x8". the drawers are 24"x 17"x6". This makes it flush to the seat when it's up, and I built the drawers high enough to clear the rear hatch mechanism. My grandpa had some commercial rubber mats sitting around so I cut one to fit the top and screwed it rubber side up. Keeps things from sliding around nicely. It holds all my recovery equipment, various tools, straps, bungie cords, tools, first aid kit, fire extinguisher, etc. One of the best things I'll do to the Jeep I'm sure.
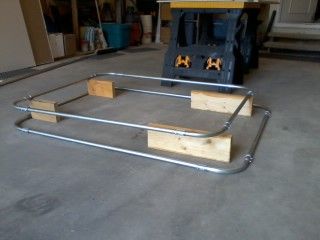
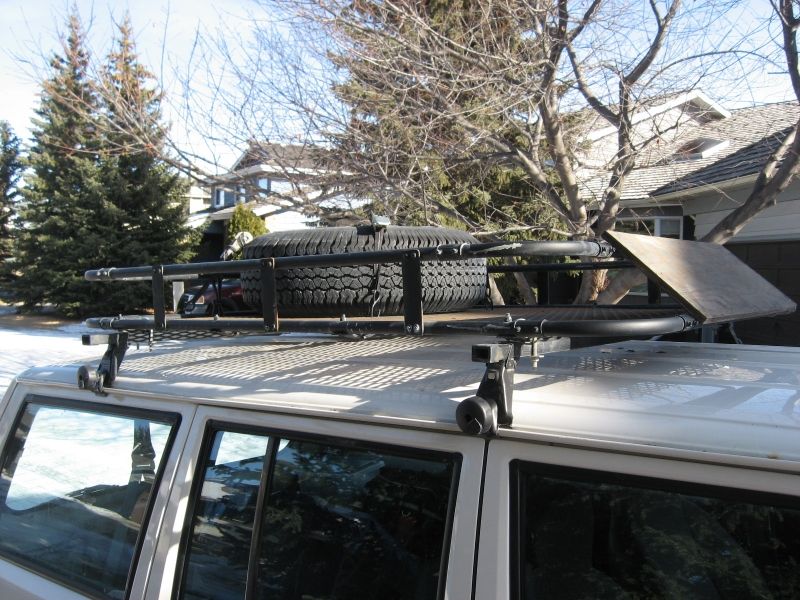
Because of the drawers the spare tire wasn't able to fit in the back anymore, so I decided to build a roof rack. Found a write up on a EMT conduit one and went with that. Spent a weekend building that. Just bought some 8ft sections of 3/4" EMT conduit from my local hardware store, eight 90 degree pieces and a handful of connectors. I cut the pipe using a plumbing pipe cutter my dad had. Than used
some 2" flat bar for the vertical supports which i pre drilled and used screws to hold. Than pinched the ends of the bottom support bars in a bench vise than drilled and bolted those on. It is 4ft wide and about 4.5ft long. I sloped the front and added a painted chunk of plywood as a wind break. Painted it flat black and strapped my tire up there. I u-bolted this down to some gutter mount rails I got on sale at Canadian tire. I was able to shake the whole jeep when pulling on the rack so it seemed solid. A couple months later I bought some expanded steel mesh and put that inside which the u-bolts hold down. This helped with holding smaller items like coolers and jerry cans up there. This rack held up for 11 months, I checked the tightness of the screws once a month.
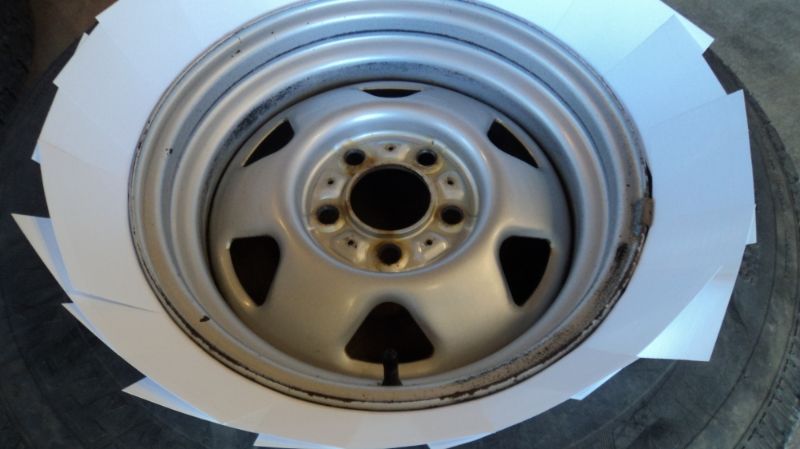
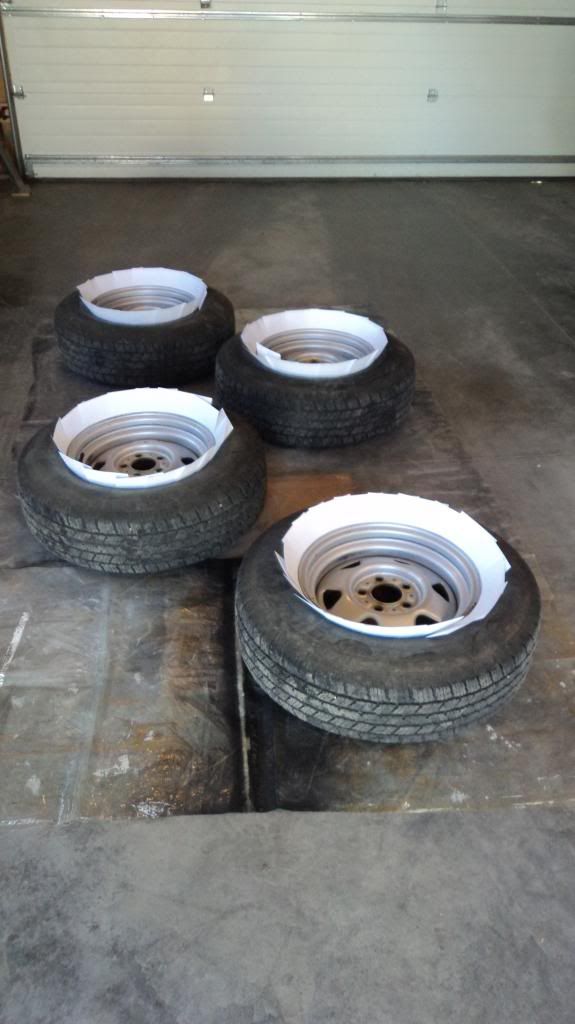
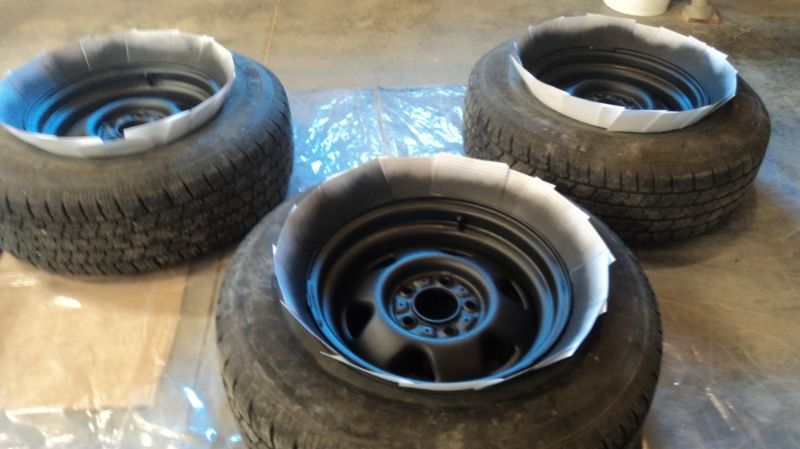
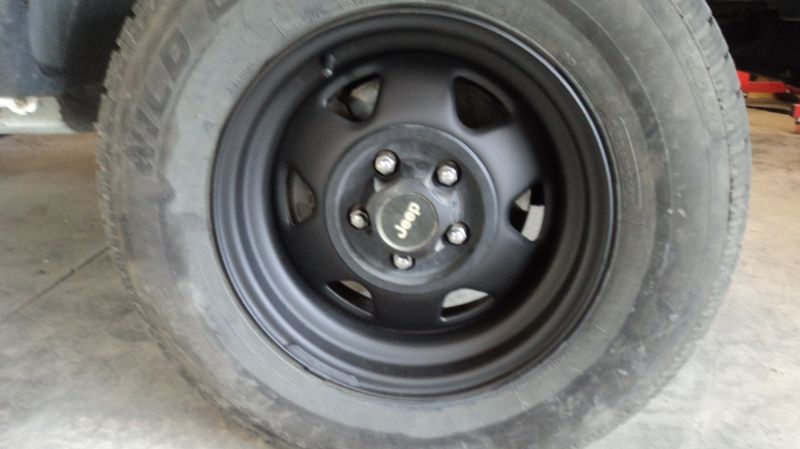
It got loaded down with lots of gear all the time and by the end of summer the rear leafs were curving the wrong way and speed bumps would bottom them out. So after plenty of research I ordered some 2" OME HD leafs and than found some 2" coil spacers from a local XJ enthusiast. Had some fun and frustration doing my first lift but I learned quite a bit. While I had the Jeep in the air and all the nuts and bolts having a PB blaster bath I cleaned and painted my rusty stock steel wheels. Just used some SOS pads and water and the original paint came right off along with any surface rust that had started. Used some cue cards around the rim and hit with some flat black Rustoleum rattle can paint. They turned out quite well and I enjoyed the look it gave the Jeep. I only sprayed the 4 rims since my spare is always on my rack. (Should've just done it)
I drove it like this for the winter. The rear leafs had initially given me 2.25" of lift but after 11 months have since settled down to about 1.5" - 1.75".
This shows how shot my rear suspension was
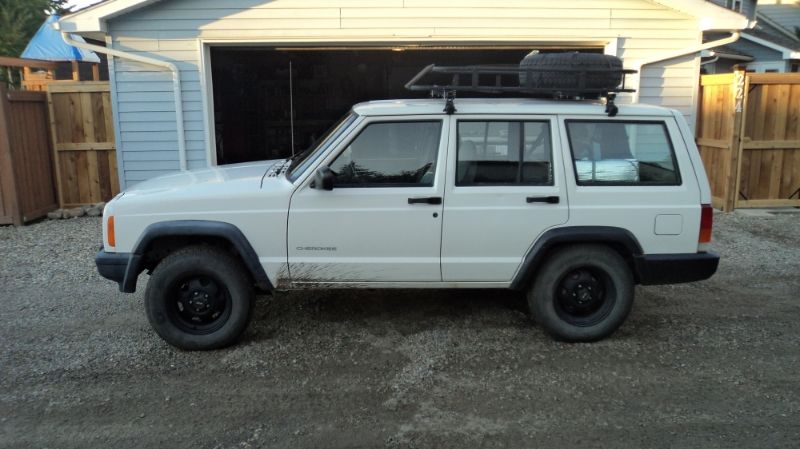
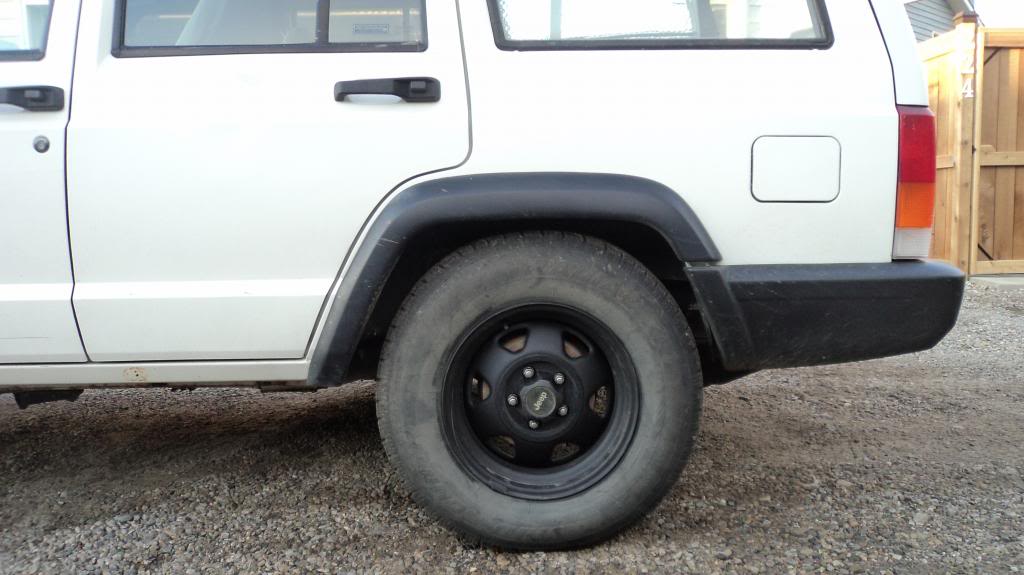
After the lift
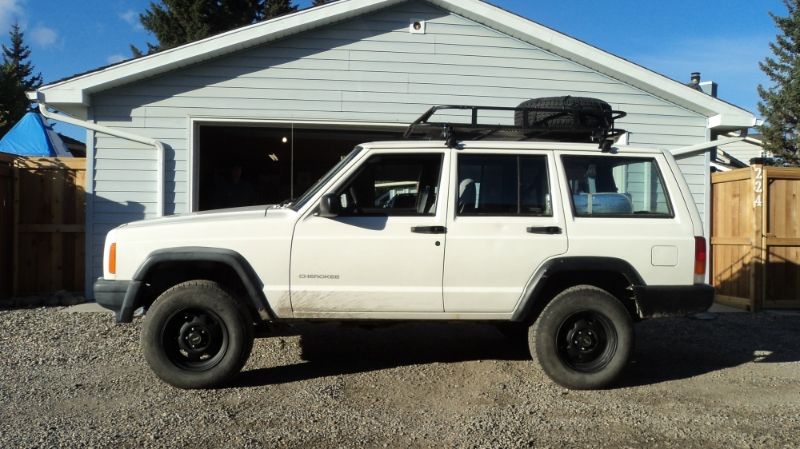
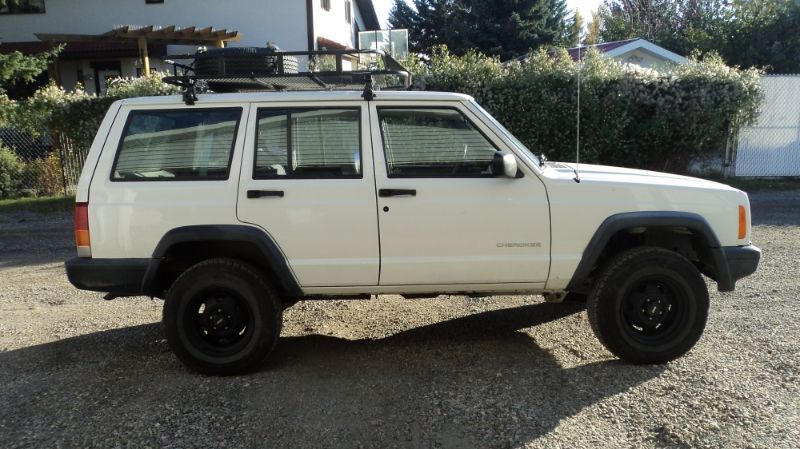
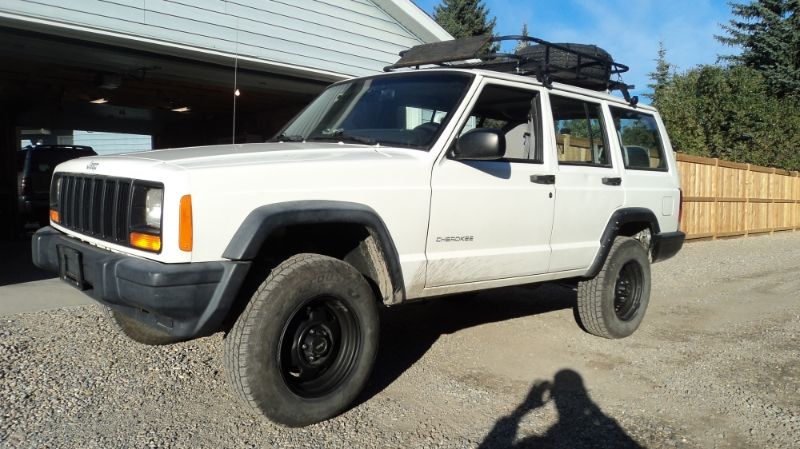
I got bored during the winter. So I was constantly on here looking for new ideas and mods I could do to my jeep.
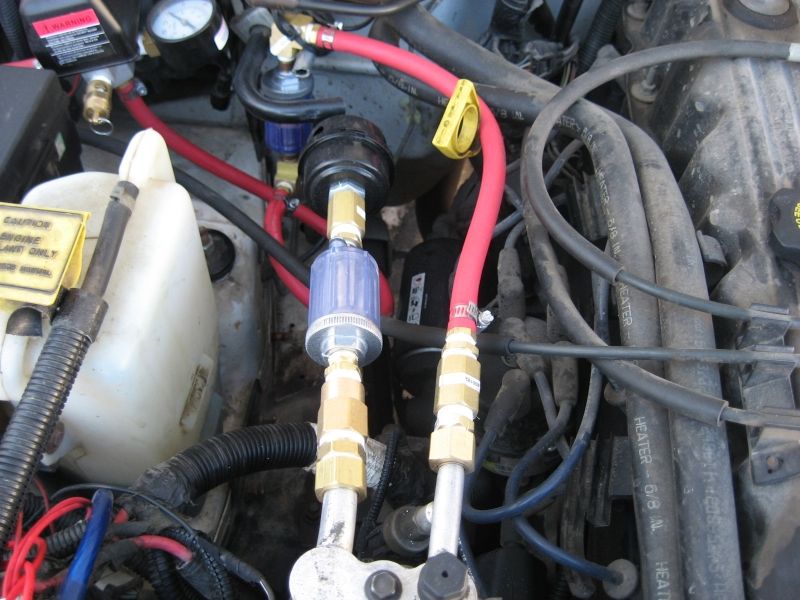
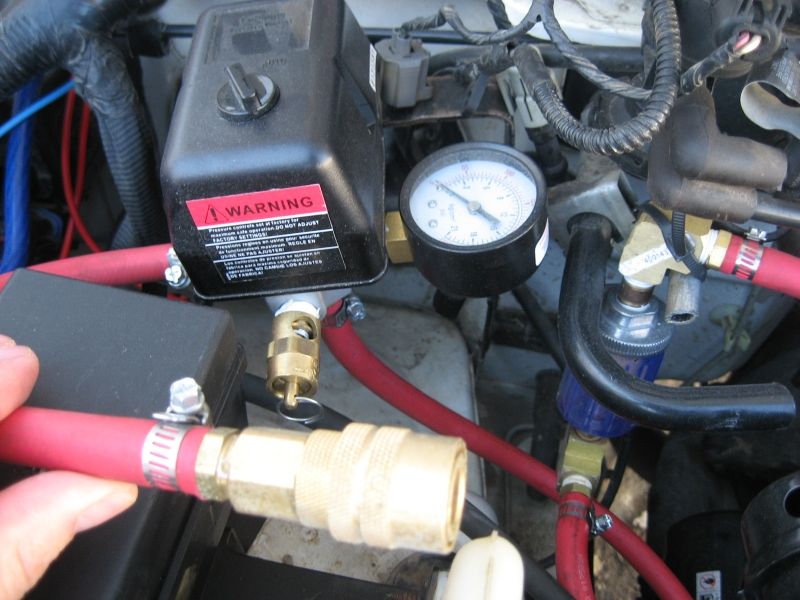
I found a write-up on converting the A/C into a on board air system. So I took a stab at that. It turned out surprisingly well since I have no experience with compressed air systems. I decided to go tankless since I don't have any air tools and was on a budget. At idle it'll hold 50 psi while airing up a 30" tire meaning I can take a 30" tire from 10psi to 45 in about 30 seconds. If I have someone hold open the throttle a bit it'll constantly pump out 80-100psi! I bought a 20ft coil hose and a tire inflator/deflator with gauge, so I can reach all tires.
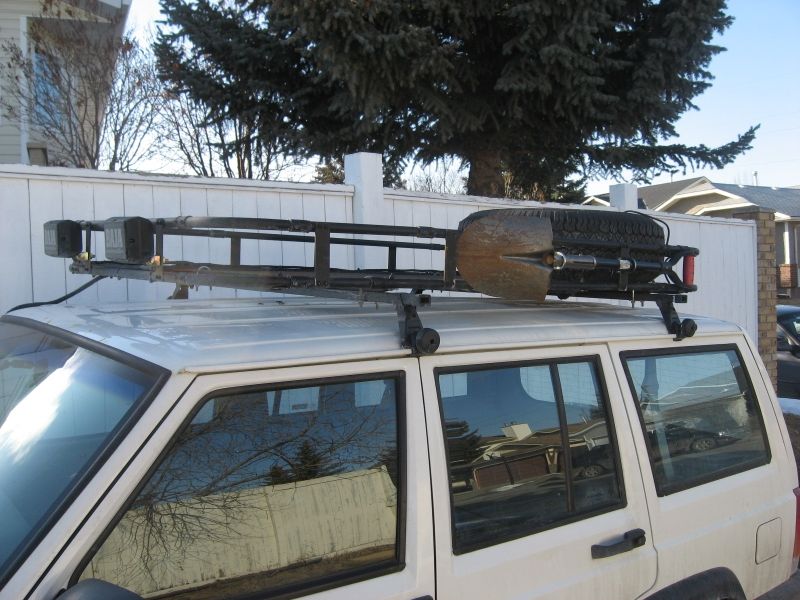
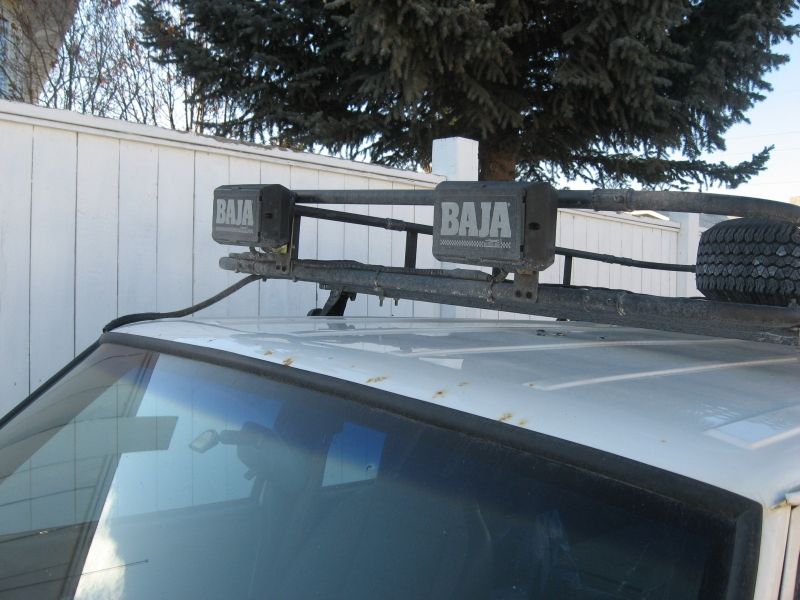
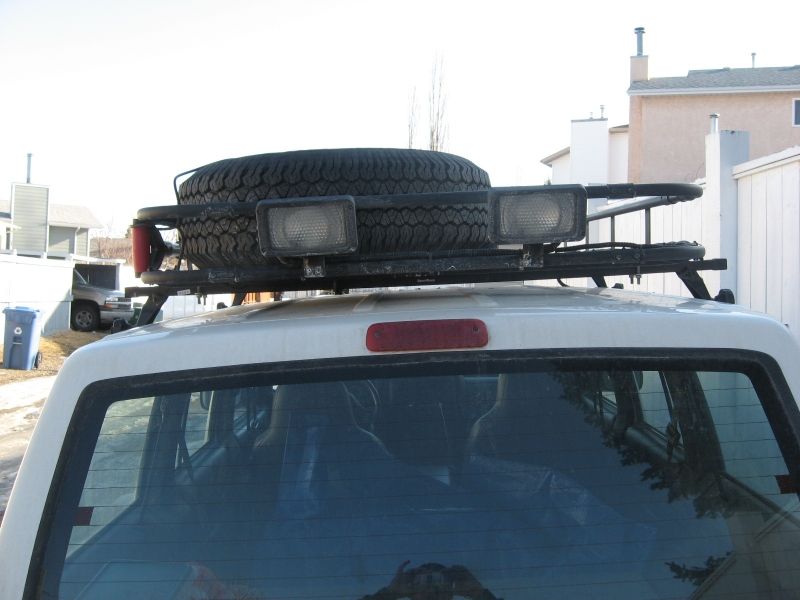
I acquired my dad's old rooftop carrier (sorry no picture) and since I didn't want to remove my conduit rack I decided to upgrade it to fit the carrier inside. So I simply unscrewed some connectors, cut some longer pieces, cut and drilled some more flat bar, painted the new parts and touched up some scratched spots on the old. Now the rack is 6'2" long and 4" wide. While it was off the jeep I mounted 2 spotlights up
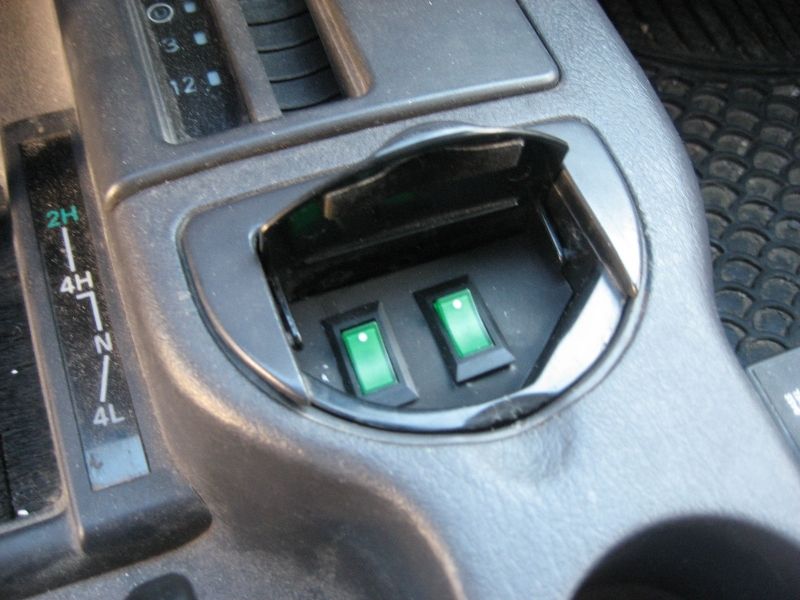
front, and 2 floodlights on the back. Ran heavier gauge wiring and relays for upgraded bulbs down the road, and mounted the switches in my ash tray so they can't be accidentally turned on. The spotlights are a bit weak,just a $20 pair from Canadian tire. But my Princess Auto flood lights on the back really impressed me.
I also ordered and installed the LMC truck harness for the headlights and bought some silverstar halogen sealed beams. What a difference!!
I scored four 30x9.5r15 BFG AT's with 70% life for $350 off kijiji, and the next day picked up a single one for $40. It only has about 40% tread so it will be my spare. I decided to not mount them to my factory rims since it'd cost me $100 to mount, than $100 more to mount to new rims. Where as that $200 would pay for the majority of the new rims.
Here is how it sat just before I redid my roof rack.
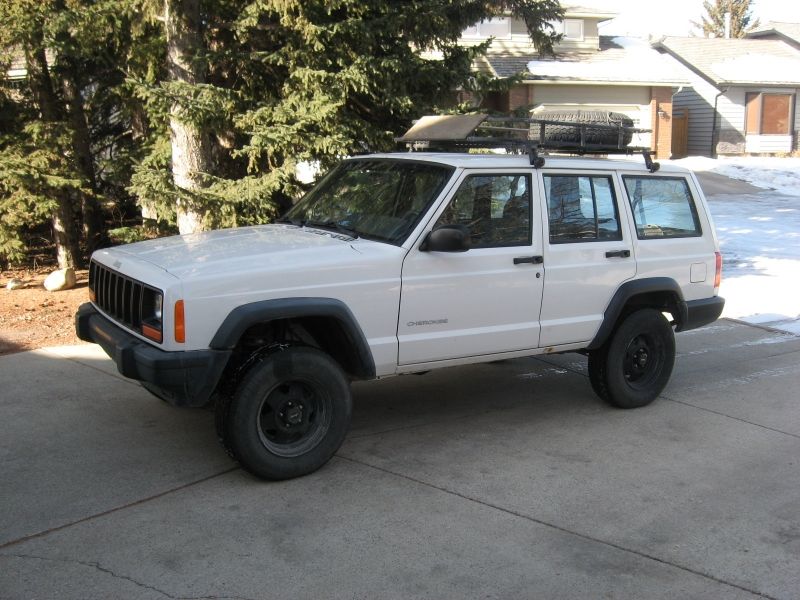
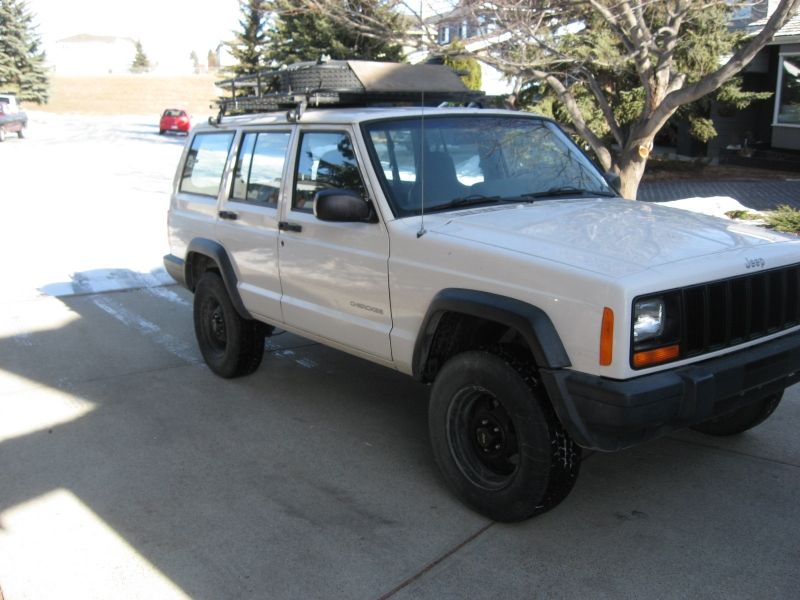
I have plans to build a cabinet/ shelf kinda thing inside where the spare tire was. Gonna have a drawer on the top for all the jeep's various fluids (keep them upright), and than a cubby on the bottom for my tool bag.
I also joined a group order from a Broken Axle so I should be getting my new rims, and window ventshades soon. This is my second time dealing with them and they are really great at answering any questions I have had!
I just ordered some steel for a front and rear bumper, which should be completed next week sometime.
I'm hoping to get my windows tinted before summer, and once the snow is gone I'll be sanding down and painting the small bits of surface rust popping up.
It's been coming along slowly but I am very happy with how it's turning out and hopefully after doing some wheeling and more camping this year I'll be able to fully appreciate everything I've put into it.
Thanks for following along
Feel free to leave comments, questions or advice!