Background: The NP249(Quadra-Trac) in the '93 ZJ is an AWD t-case. It has two positions, HI and Low. AWD is active all of the time, there is no 2wd setting. Good for snowy weather, bad for fuel economy. As well the Viscous Coupler wears out over time. The VC is what allows "slip" between the front and rear tires so you can make a turn(such as into a parking stall) and not have the tires chirp and everyone stare at you. Even worse this t-case does NOT lock 100% the front and rear wheels together like in a regular t-case. Not even in low range. So in an extreme situation with a wheel in the air you could find that all motion would stop(this was rectified in '96 up models). All in all not a great t-case.
The replacement: either a NP231(Command Trac) or NP242(Select Trac) is a good choice. The NP231 is easier to find and has more aftermarket support such as low range kits and HD SYE output shafts. The NP242 is very similar to the NP231 but has an AWD setting(called Full-time 4wd, named so because you can drive it in 4wd full time). It achieves this by using an open differential in the case. Great for street/highway driving on snowy days but not great for wheeling but then you can always just shift into Part Time 4wd or 4wd low for full lock up. Full control and the best of all worlds.
I will be using the NP 242 from my old XJ. The problem with this is that the ZJ t-case uses a much longer input than the XJ t-case. Fortunately they are interchangeable but requires disassembly of both cases. NOTE: if doing this on a '96 and later ZJ t-case the pitch on the cut of the gears changes and the XJ input will not fit without swapping more parts, read here for more info:
http://www.cardomain.com/ride/771987/3Here we go:
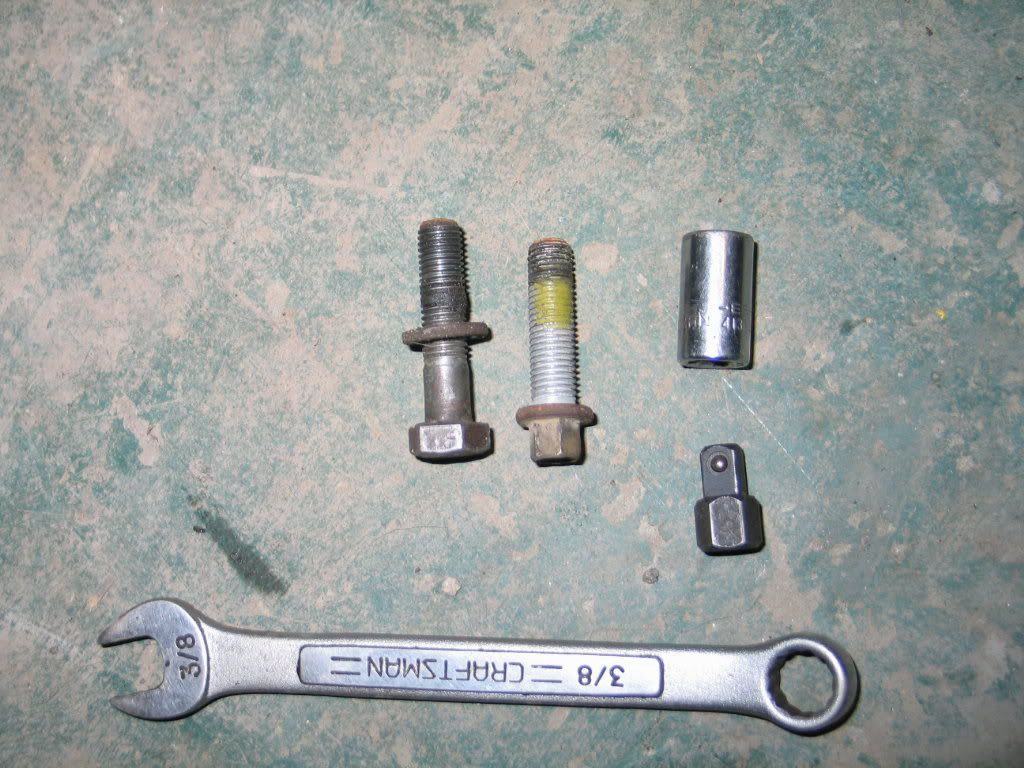
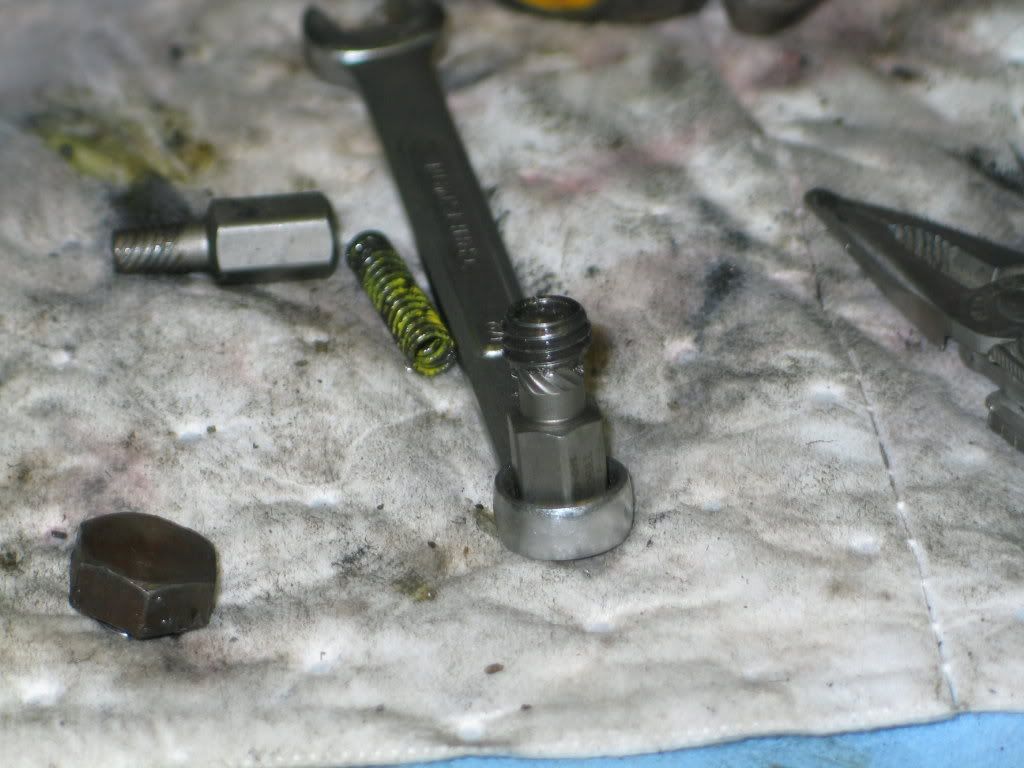
Removal is pretty straight forward, remove drive shafts. Easier said than done! My 8mm 12 point wrench started to slip on the tiny heads holding the front drive shaft to the t-case yoke. Fortunately I have a small adapter that goes into a socket and then lets you use a 3/8 wrench. Either have this on hand or use a 8mm 6point wrench for better grip. In the pic the left bolt is from an XJ and the right is the ZJ. The XJ has a 3/8 head. I'll be using the XJ bolts on re-assembly.
Once shafts are out, drain oil, disconnect shift linkage, breather hose, shift indicator and speedo wiring. Remove the lower 4 bolts holding the t-case to the tranny. At this point I find it easiest to unbolt the crossmember from the unibody and lower the tranny/t-case down to get access to the upper bolts. Two of the crossmember bolts had to be cut off using an angle grinder, the nutserts in the frame broke loose and just spun. I recommend heating the bolts up as hot as possible before even thinking about putting a socket on them. I won't bother fixing them as the Clayton's kit will replace the crossmember completely.
Once lowered a 9/16s wrench can be used to remove the bolts. A stubby wrench helps here but its doable with a regular one. Then I slowly wiggled the case off and lowered it onto my chest and onto the floor(yes its heavy). For putting it back in I reversed the procedure, lifted case onto my chest then bench pressed it into position. I'm not a really strong guy and didn't have too much trouble but I've done them enough that I've perfected a technique, you might want help for the first one, or at least a phone near by so you can call for help when it falls on your chest. :razz: Fortunately the NP242 going back in is lighter than the NP249 that came out.
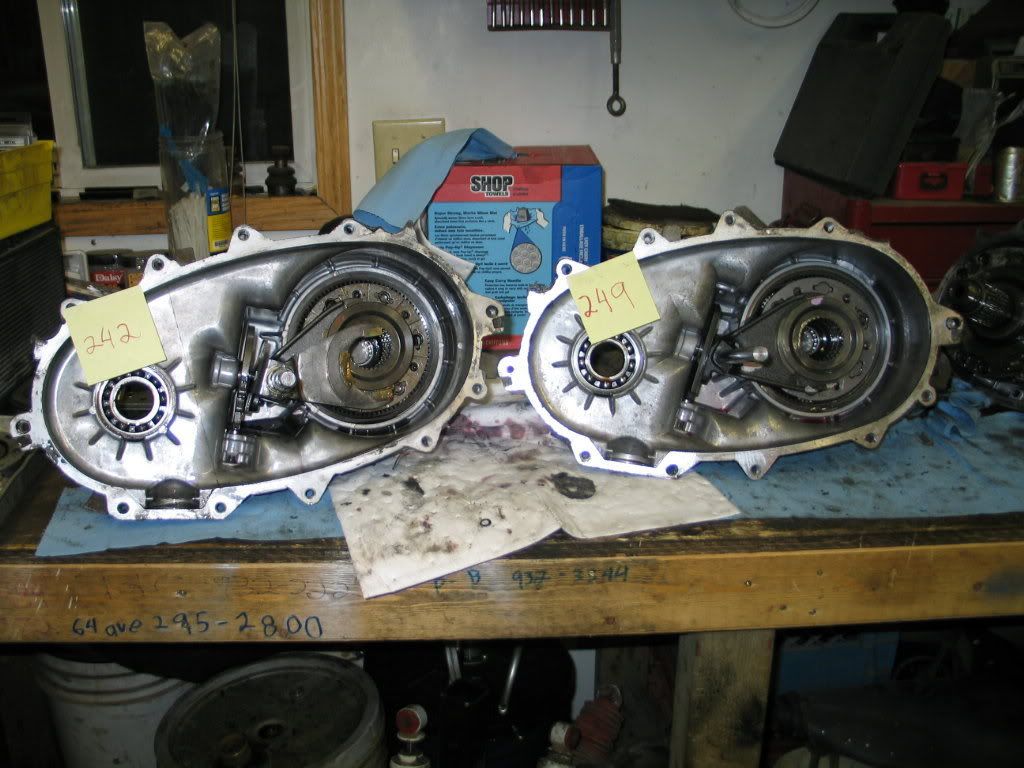
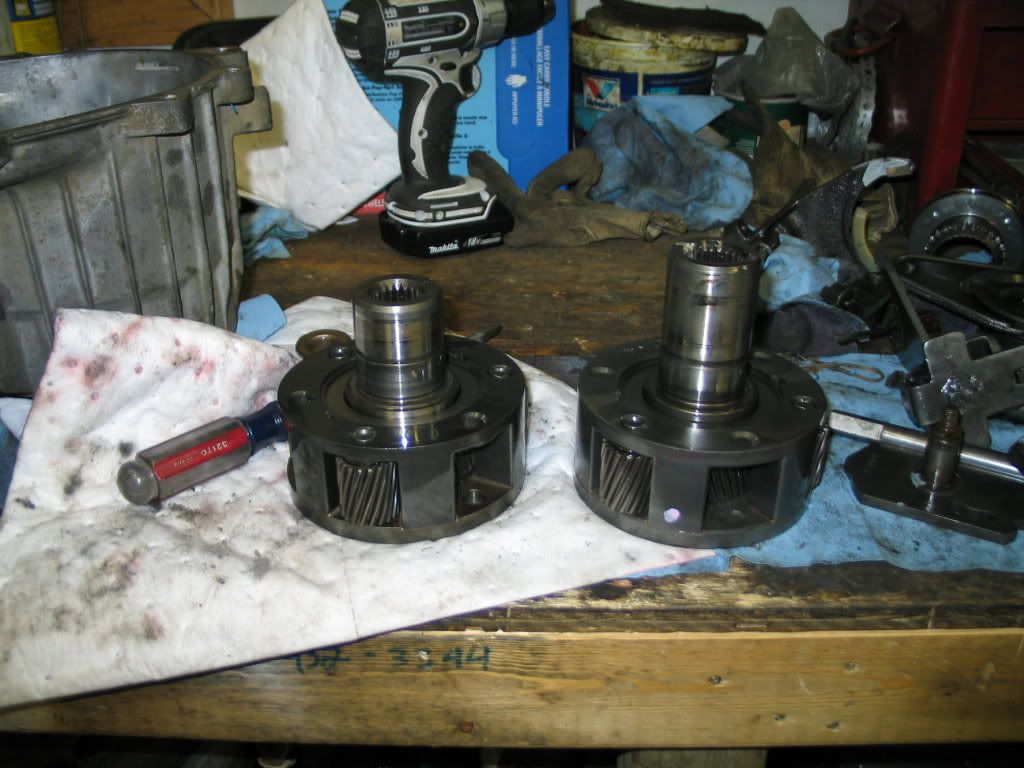
For disassembly, I chose to go in thru the front of the t-case. Most go in thru the back, not sure why, seems like more work to me. I started by removing the bearing retainer from the input shaft(4 bolts) and then there is a snap ring on the input shaft that needs to come off. The proper pliers make this a snap, fortunately I have a set. I then removed the front output yoke. I used a good impact(IR) and impact socket(1" 1/8 I believe). If I didn't have an impact handy I would have removed the yoke using a large breaker bar while the t-case was still in the Jeep with the tranny in park to keep it from spinning. After that I cracked the cases. Here is a pic comparing two insides:
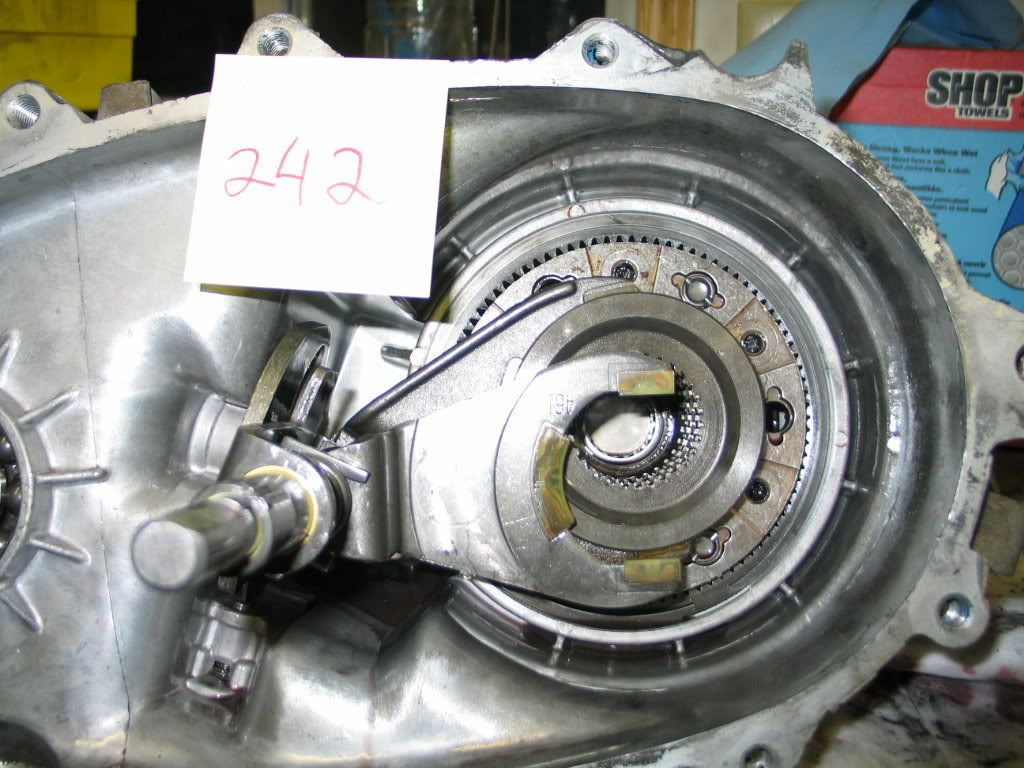
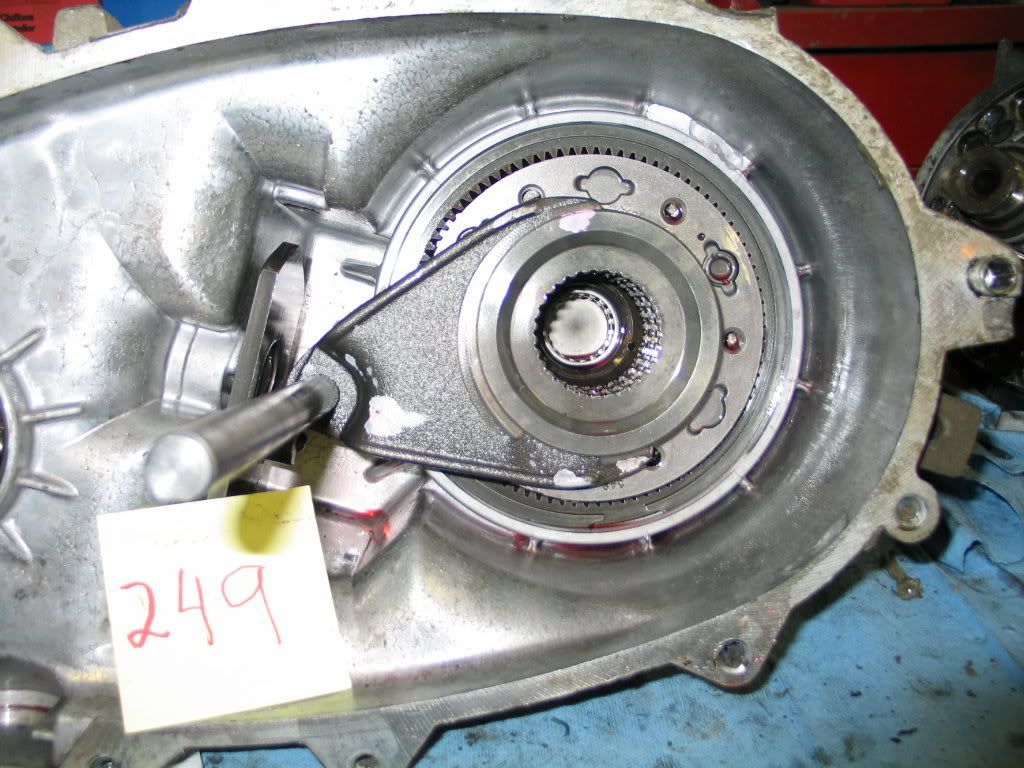
You can see the extra shift fork in the NP242 for the 2wd setting:
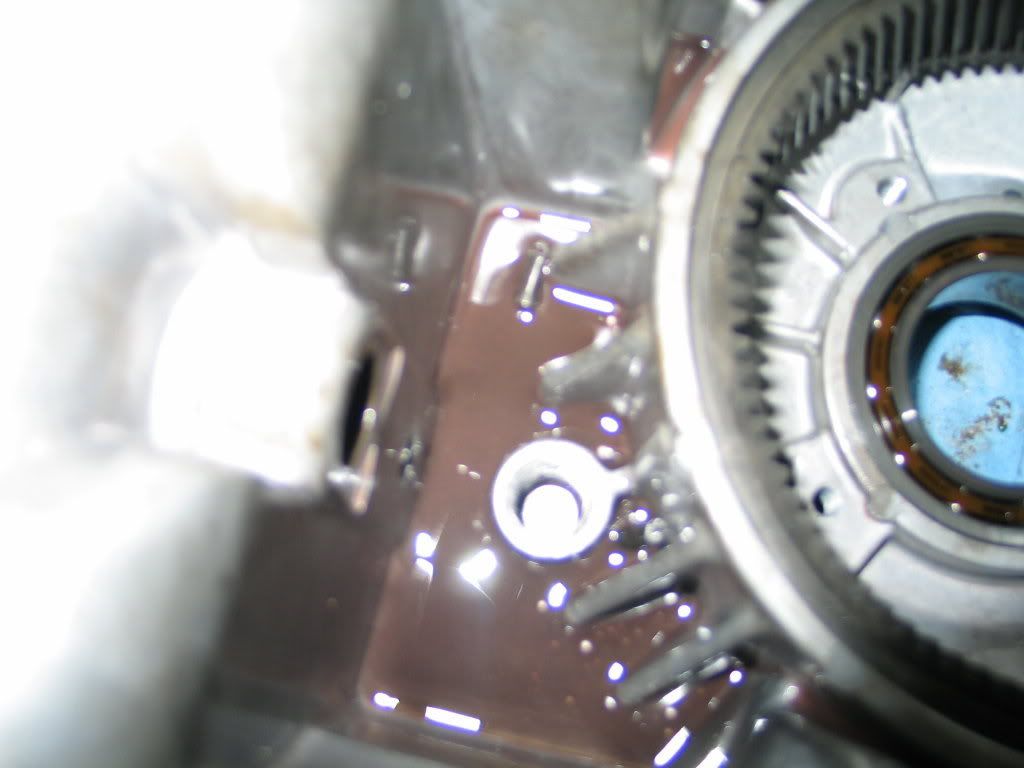
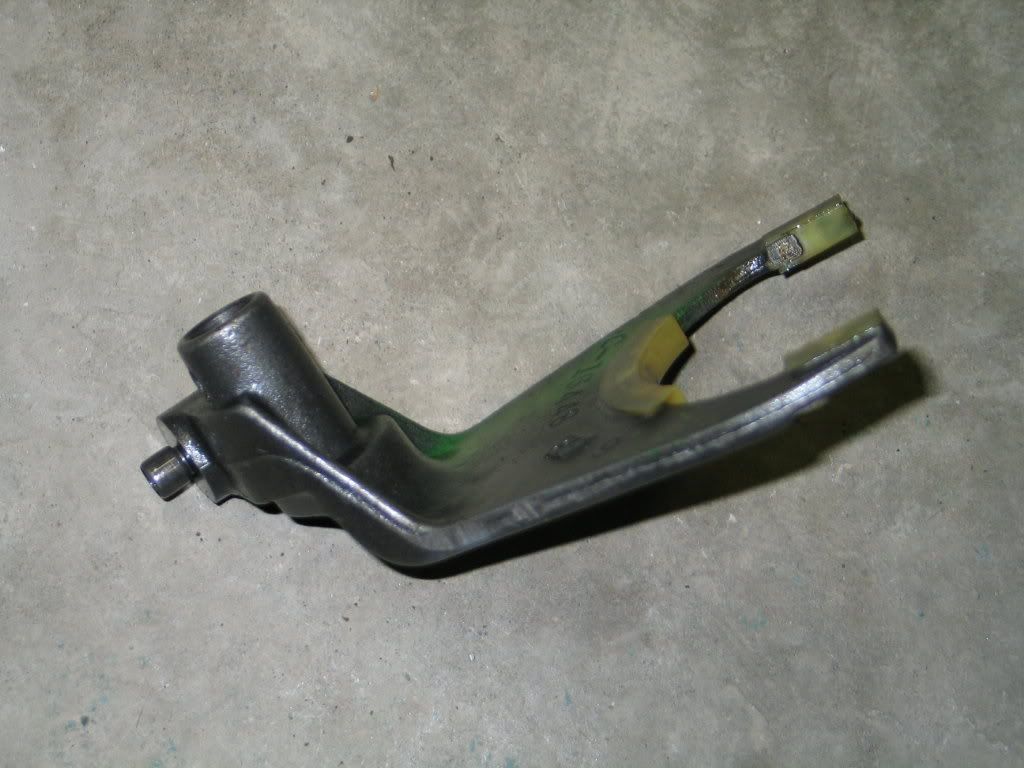
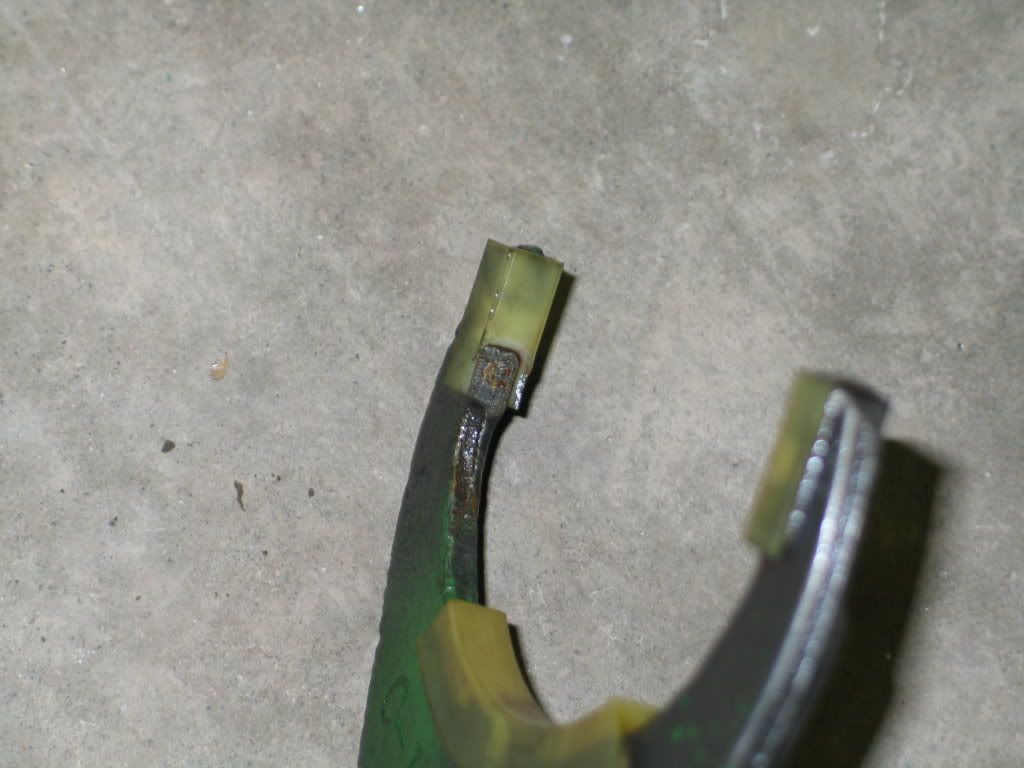
From here getting the the input out of the 249 was easy, the shift rail just slides out giving access to the input shaft, not so on the 242, there is a roll pin that has to be removed. On the outside of the case remove the rubber plug to get access to it(its near the shift lever). You will NEVER be able to pull this roll pin out and there isn't enough room to pound it all the way thru(hits inside of case). Drilling is an option but there's an easier way. Pound the pin in until is almost(not quite) hits the inside of the case. Then move the shift rail up so you can see the pin sticking out. Now using a long flat blade and hammer break it off. Its brittle and breaks easy, don't worry you can use the one from the NP249 as a replacement. You may have to do this two more times to get it all out. Once its out the shift rail will slide out allowing you remove the input shaft. Broken roll pin:
Here you can see the difference in input shaft lengths, the NP242 from the XJ is on the left:
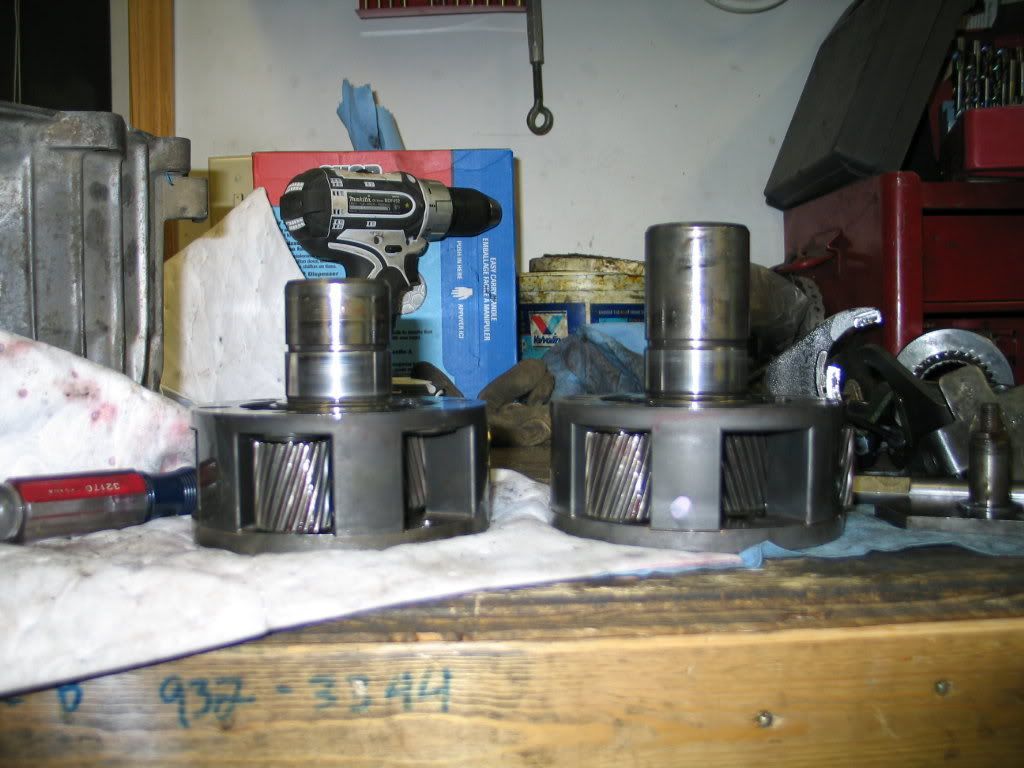
So now just put the NP249 input(longer) into the NP242 front case. Pound out the roll pin from the NP249 shift rail(its easy cause its out and on the bench) and install the shift rail into the NP242. What you have now should look like this:
On a side note, check the sliders on the forks before reassembly. Mix and match pieces from either case to use the best ones. I had a NP242 once that would not engage the front driveshaft when in 4wd Low. Turns out a shift fork was slightly bent and the sliders were worn out.
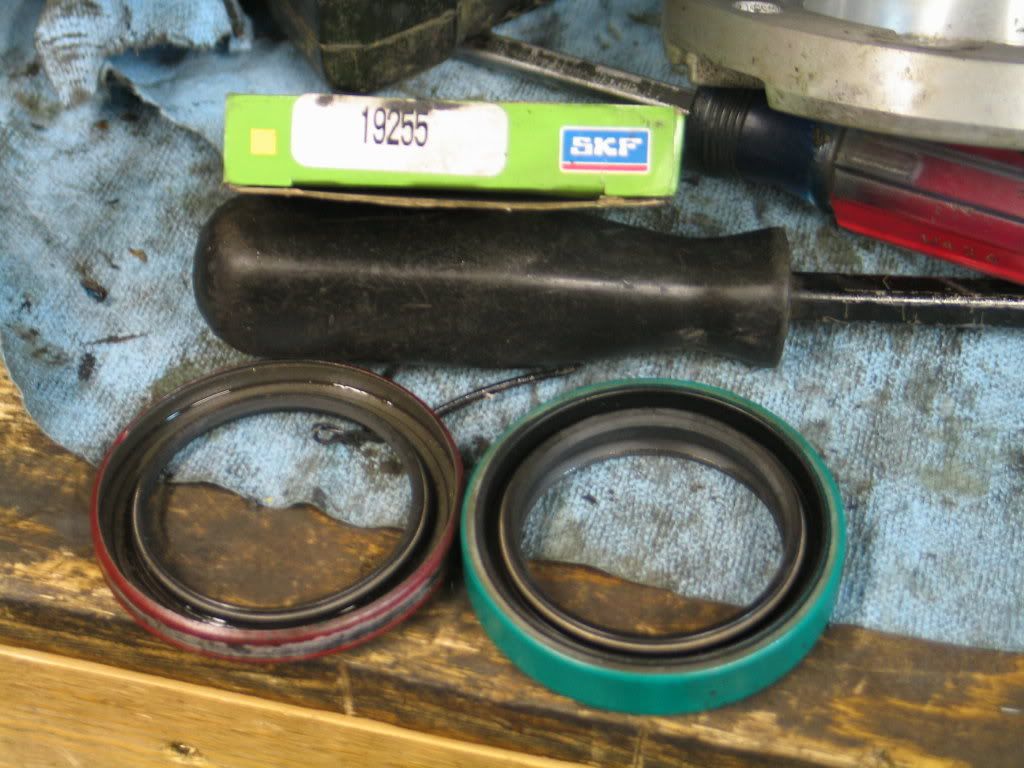
Use some good quality RTV sealant, something suitable for ATF, on the case halves for reassembly. Don't go crazy with it! The oil pickup screen on one case had some excess RTV in it from the last time it was apart. I installed new seals at this time as well. I noticed the input seal had a double seal. This is nice as sometimes a seal will wear a groove in a shaft. when this happens a leak develops and replacing the seal has no effect as it rides in the same groove. A double lip seal solves this by giving two sealing surfaces. This one was from NAPA:
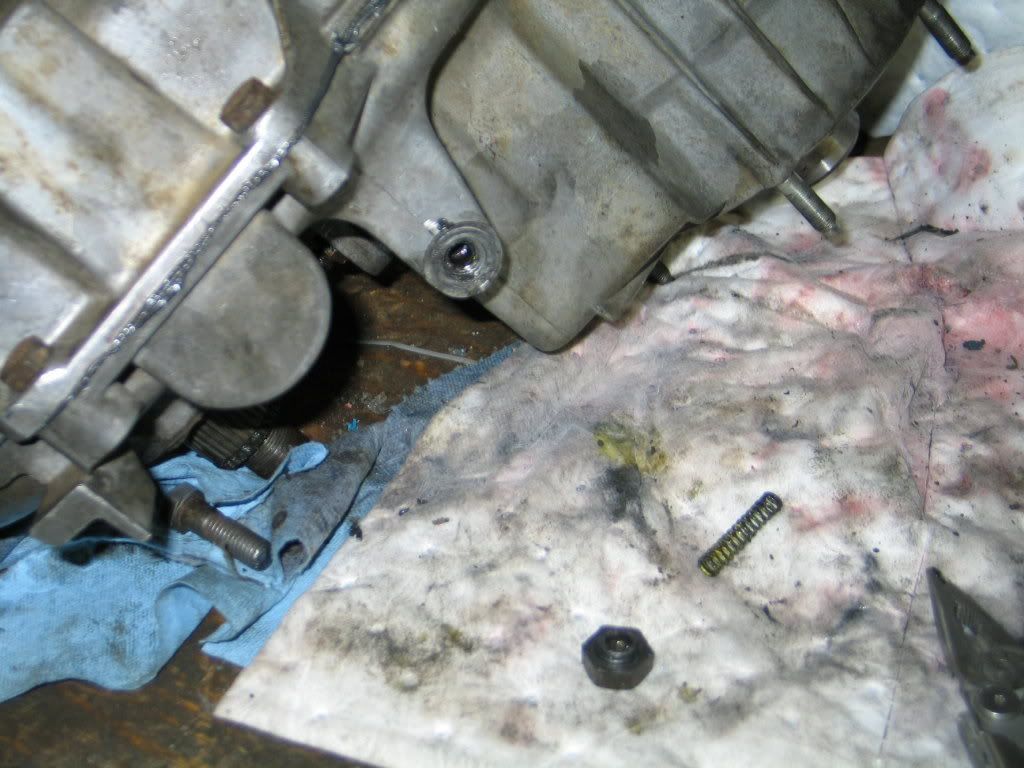
Don't be an idiot like me and use a 3/8 impact to run the bolt back in for the shift detent ball/spring. Its drilled out for the spring to sit in and thus the structural integrity is reduced. DUH!
Fortunately I have a set of Snap out easy outs that made getting the broken piece out easy. I don't buy really expensive tools(mostly Craftsman or Husky) but these easy outs have saved me many times and are worth the price!
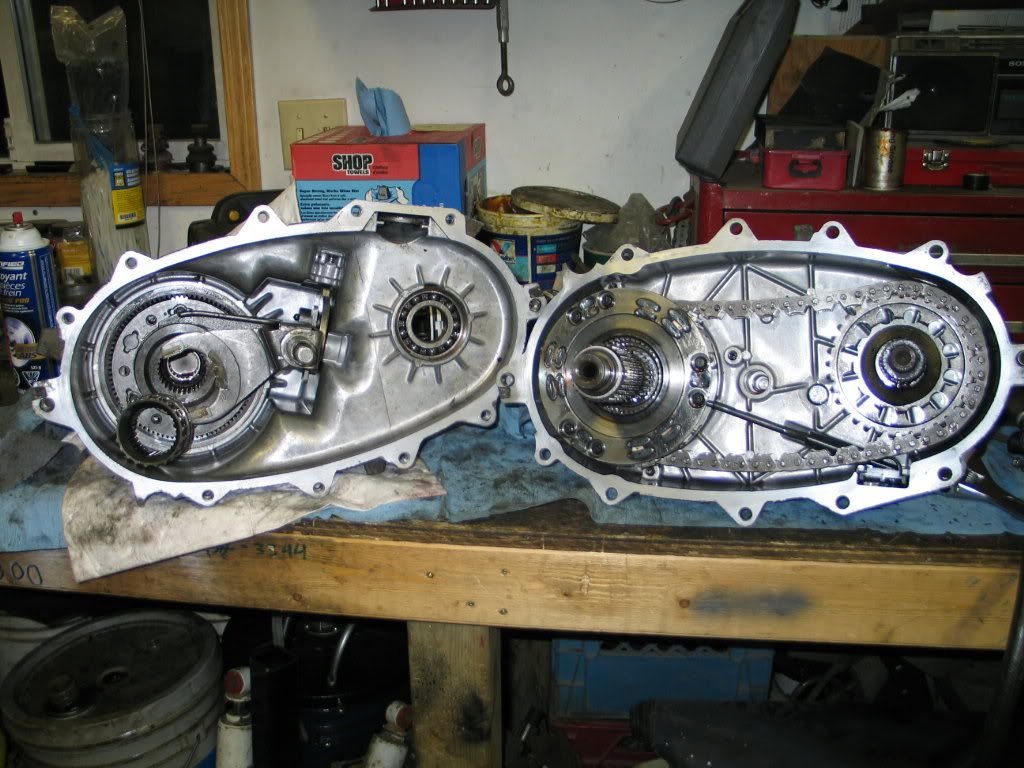
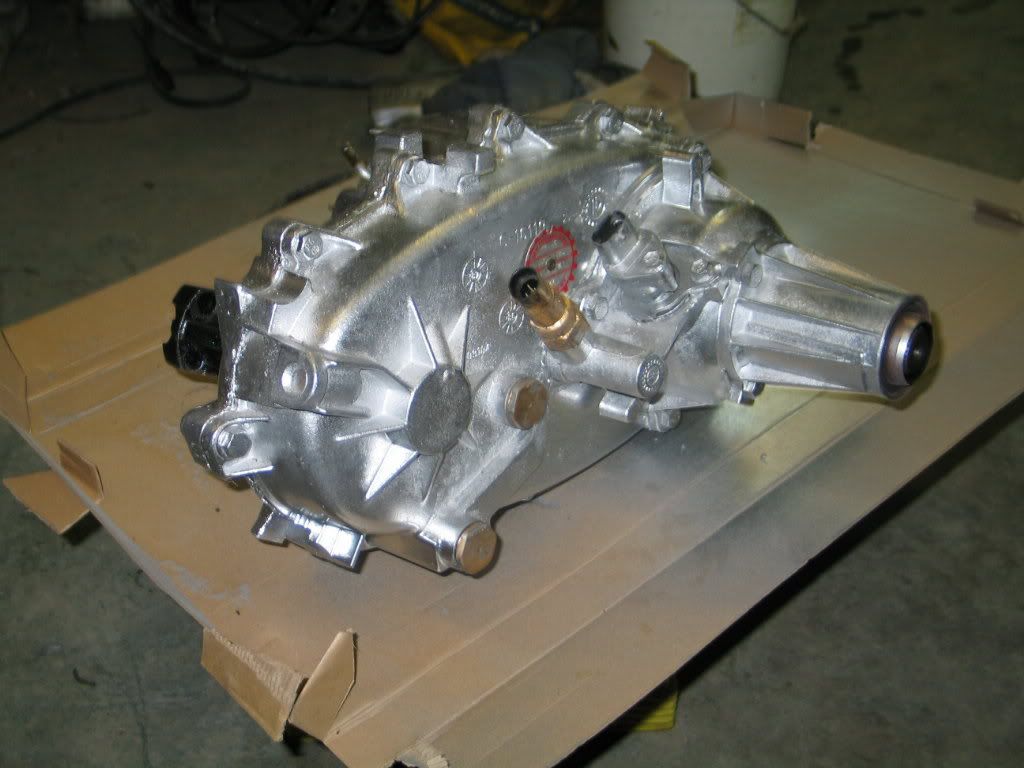
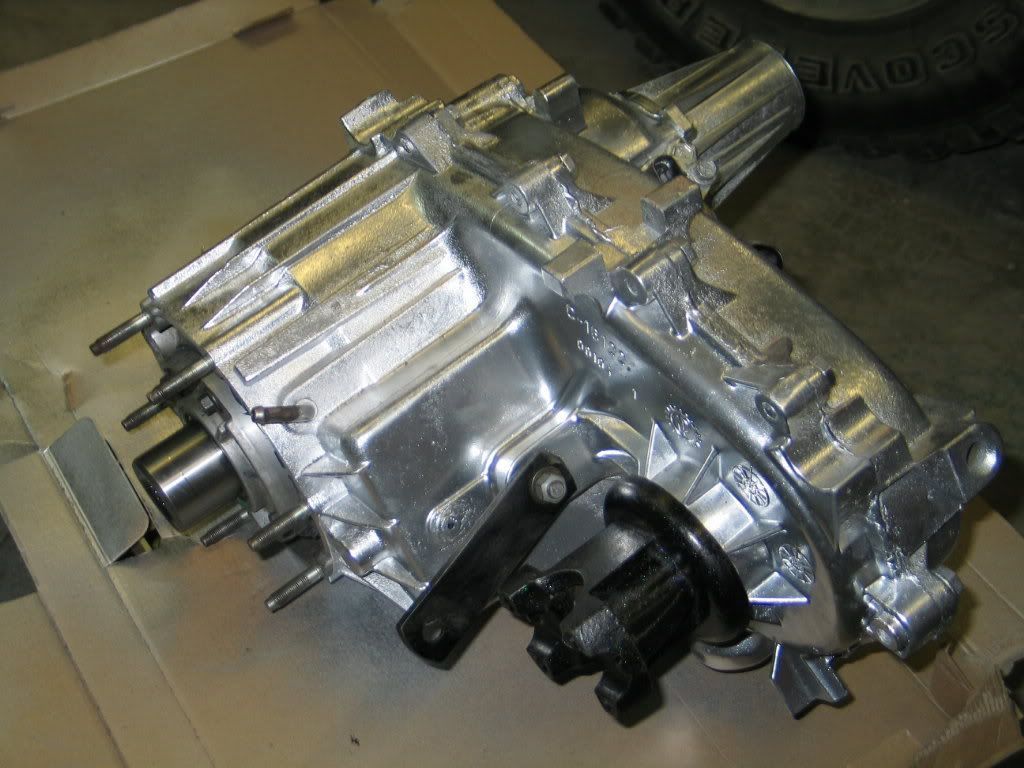
Now, after a coat of paint, the case is ready to go back in.
In this pic the new 242 case has the 249 shift lever on it. Don't do this, you need to use the shorter NP242 lever.
The speedo adapter bolted right in as well as did the NP249 shift indicator switch, BUT I do not get the correct readings on the center console display. I will look for a ZJ NP242 indicator switch later but for now what I'm in by looking at the shift lever. I scored a ZJ Select-Trac shifter face plate at the wrecker a while ago so I installed that, just snaps in. Also there is a plug that needs changing behind the Vehicle Info Center(VIC), unplug the white one and plug the red one in for the VIC to know that you've switched t-cases.
 Topic: Swapping inputs on an XJ NP242 to fit into a '93 ZJ(lots of pics!) (Read 5013 times)