Calgary Jeep Association

Author Topic: bRIBEGuy's 2000 XJ  (Read 54730 times)

0 Members and 2 Guests are viewing this topic.

Offline bRIBEGuy

  • Budget Lift
  • Posts: 292
Re: bRIBEGuy's 2000 XJ
« Reply #75 on: November 26, 2012, 07:56:13 PM »
Spent some time in the garage this weekend after picking up this:

 :)


Starting off with the stock engine bay, I was mainly looking to recoup some space by axing the OEM airbox.


Much better!


Leaving the kit out in the cold garage overnight turned out to be a bad idea when I went to stretch this rubber/plastic spacer over the throttle body.  Would not happen.  Lucky for me, JackstandJohnny called about a skid plate he had for sale, and the drive over to his kingdom of ZJ's gave me enough time to warm up the spacer on the dash of my Evo.   ;D


Marking for the cowl cut:


It SUCKS cutting a 3" hole in your Jeep!


But the rest of the install was easy and straight forward.


Oh ya, got my sweet new transfer case skid on too!


'00 XJ Classic, 3" OME lift, 32's, custom stereo.

Offline bRIBEGuy

  • Budget Lift
  • Posts: 292
Re: bRIBEGuy's 2000 XJ
« Reply #76 on: November 26, 2012, 08:07:04 PM »
Cowl intake sounds frighteningly creepy and loud when starting the engine, and at idle.  Very noticeable "whooshing" sound as if the engine is drinking air violently through a long straw.  Which really, it now is.  Noise isn't really noticeable at normal driving speeds at the tires and general XJ rattles/creaks keep the added sound at bay.  It's a non-issue if the stereo is on too.   :)  The skinny pedal makes the engine WAY louder and growlier now too.  Sweeeeet.  More power?  Dunno.............


Out came some steel and some bending, drilling, and bedliner latter, I had these:


Using one of the existing bolts from the OEM airbox, and two existing bolts holding on some electrical doodads, I was able to make a pretty sturdy and clean mount for the winch solenoid/controls.


Twisted and wrapped a bundle of four 16ga wires, and ran it thru the firewall from the cab out to the engine bay.


Then started drilling interior trim.....


And relocated the mounting point for the hand held winch controller.


Now I just need to find some place that can make me some 2ga cables to hook everything up.............hmmm................
'00 XJ Classic, 3" OME lift, 32's, custom stereo.

Offline JENSSEN

  • Talks waaay too much!
  • Posts: 1606
    • Racing For The Cure
Re: bRIBEGuy's 2000 XJ
« Reply #77 on: November 26, 2012, 08:21:19 PM »
I really like the air intake ,.. Need to look into that!
www.racingforthecure.ca


Definition of Link to this definition of Blasphemy
1. [n] blasphemous behavior; the act of depriving something of its sacred character;

Offline Vinman

  • CJA Executive
  • Talks waaay too much!
  • Posts: 2237
Re: bRIBEGuy's 2000 XJ
« Reply #78 on: November 26, 2012, 08:23:36 PM »
Nice work on the winch plug relocation, I did that on my last heep and plan on doing the same for this one.
/l ,[____],
 l---L -OlllllllO-
 ()_)-()_)-o-)_)

Quote from: Bnine link=topic=25904.msg162940#msg162940      date=1341881306

 Resident prick is my job and it took me ten years to earn that title

Offline bRIBEGuy

  • Budget Lift
  • Posts: 292
Re: bRIBEGuy's 2000 XJ
« Reply #79 on: October 27, 2014, 08:17:39 PM »
Well, it's about time for a long winded update on some long overdue work.

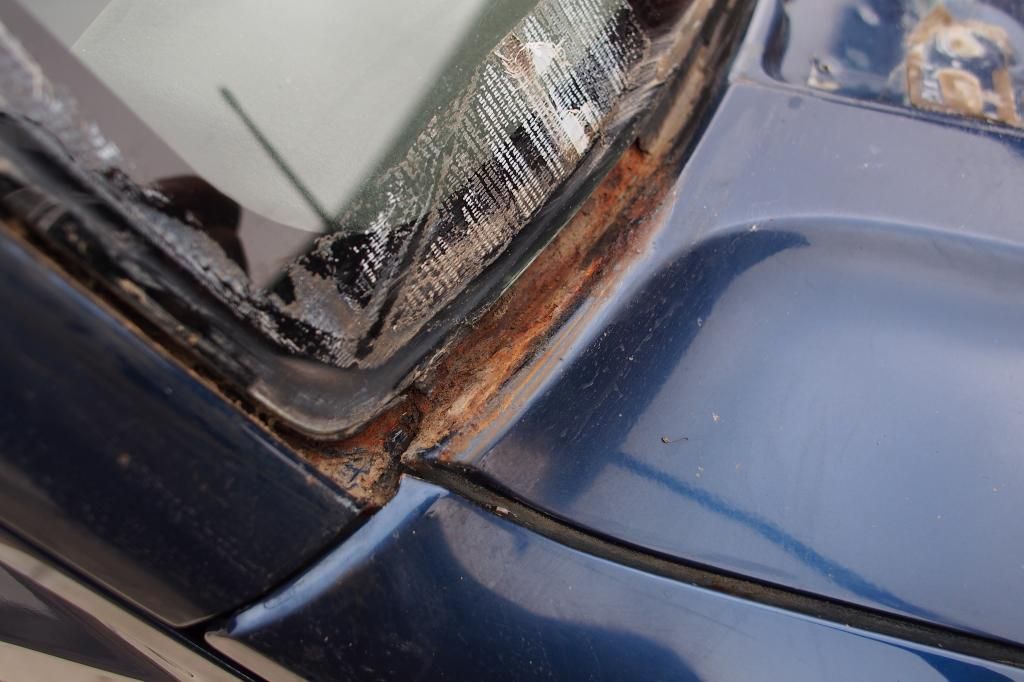
As many know, the rust gremlins got to my roof, and the damned cancer started looking pretty nasty.
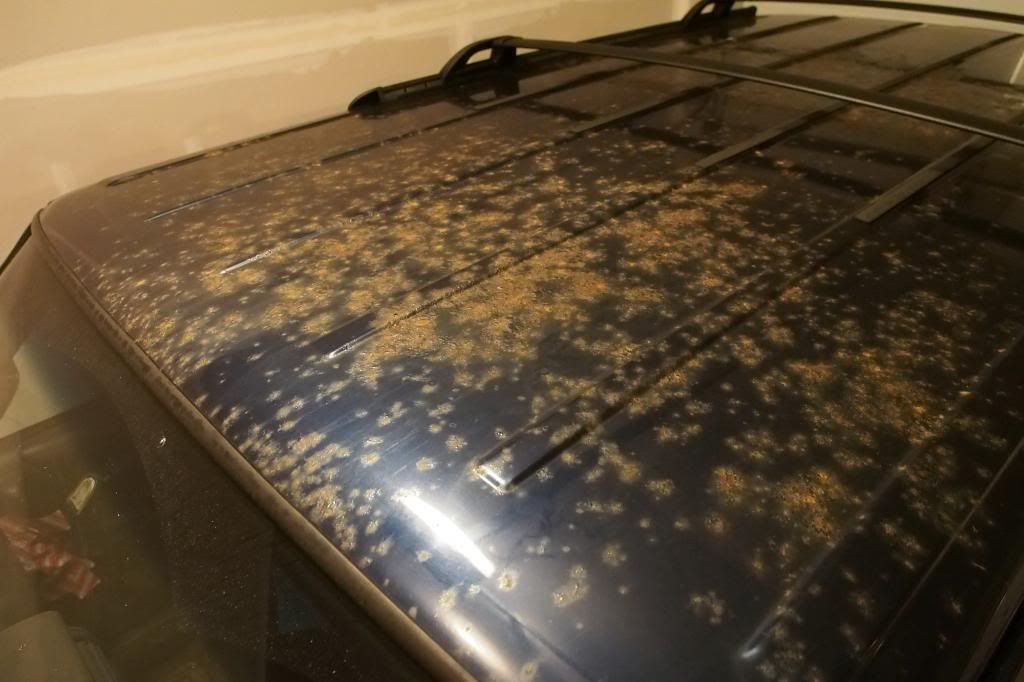
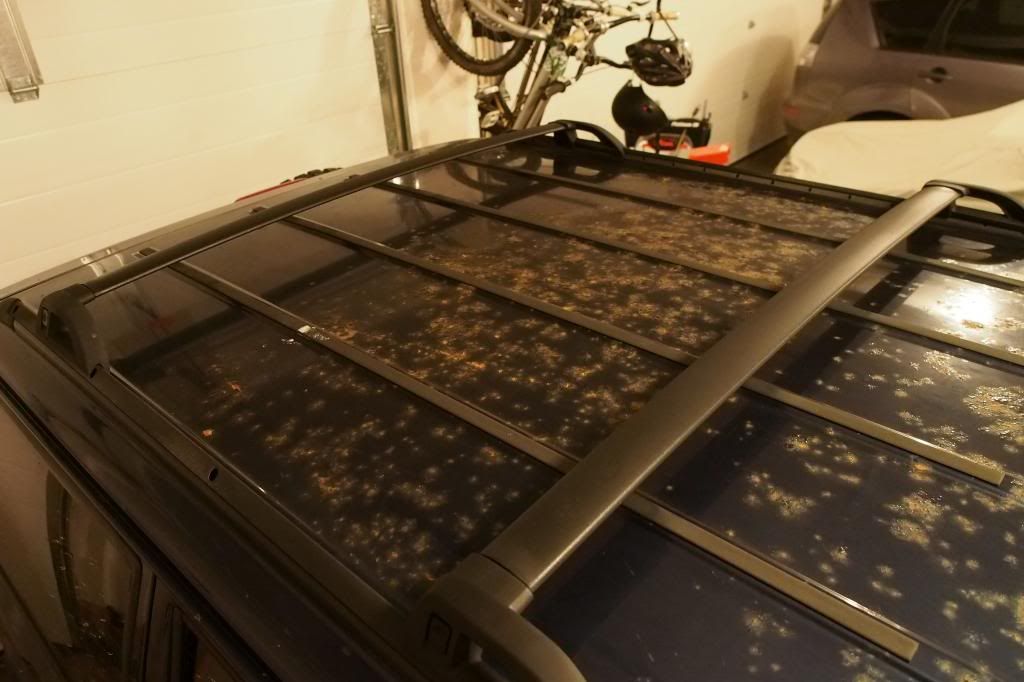
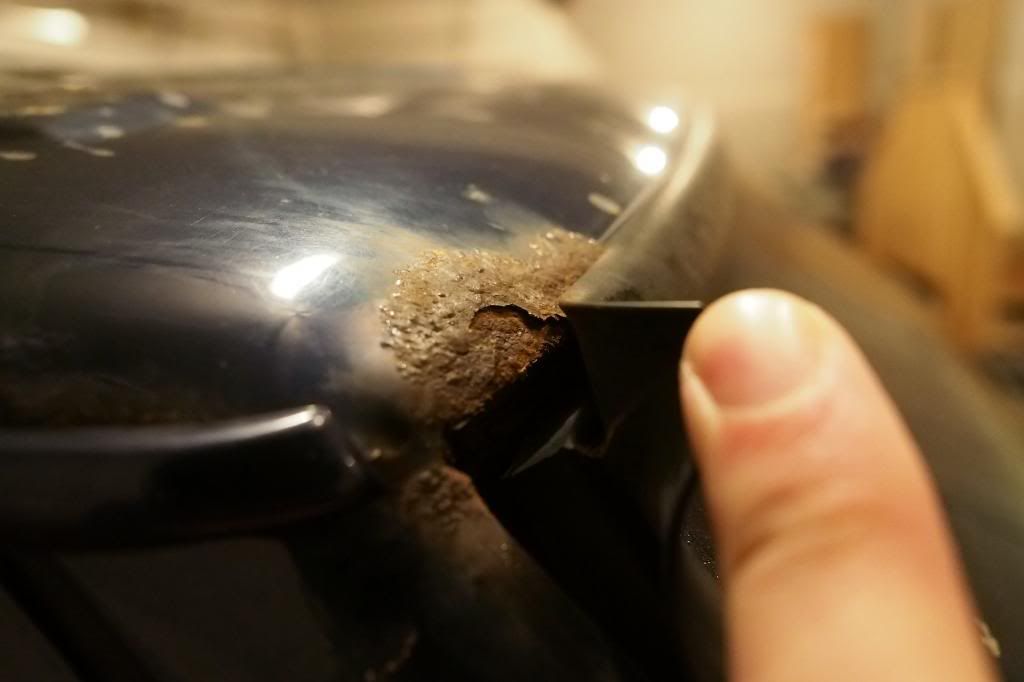


I made the mistake of neglecting this longer than I should have, and the result was water on the wrong side of the Jeep.......yup, the inside.  A bit more prodding around the windshield frame revealed a small hole just big enough to slide a key into in the upper passenger corner.  I asked around for advice, contemplated my options, and spent longer than I'd like to admit driving the Jeep with a high-tech duct tape windshield seal.

Lucky for me, I ended up with a break in my yard work, and a bit of free time a week or so ago, and I finally decided to tackle the project.

Step 1: Pull the windshield molding and roof rack.  Top and bottom of the windshield frame are not looking too hot.....
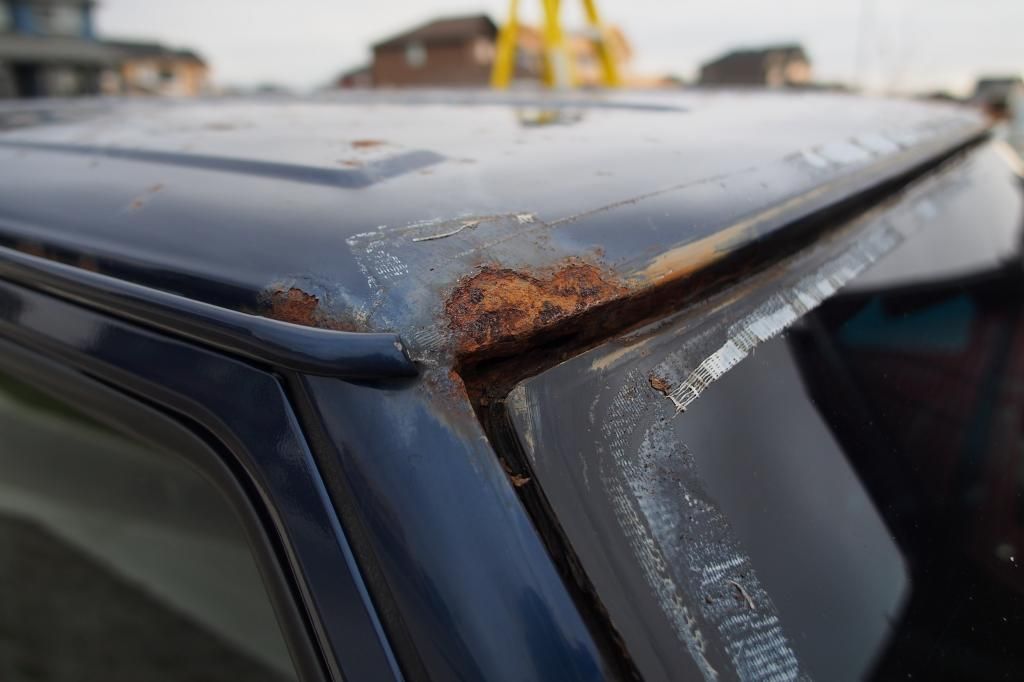


Roof is not awesome, but not as bad.
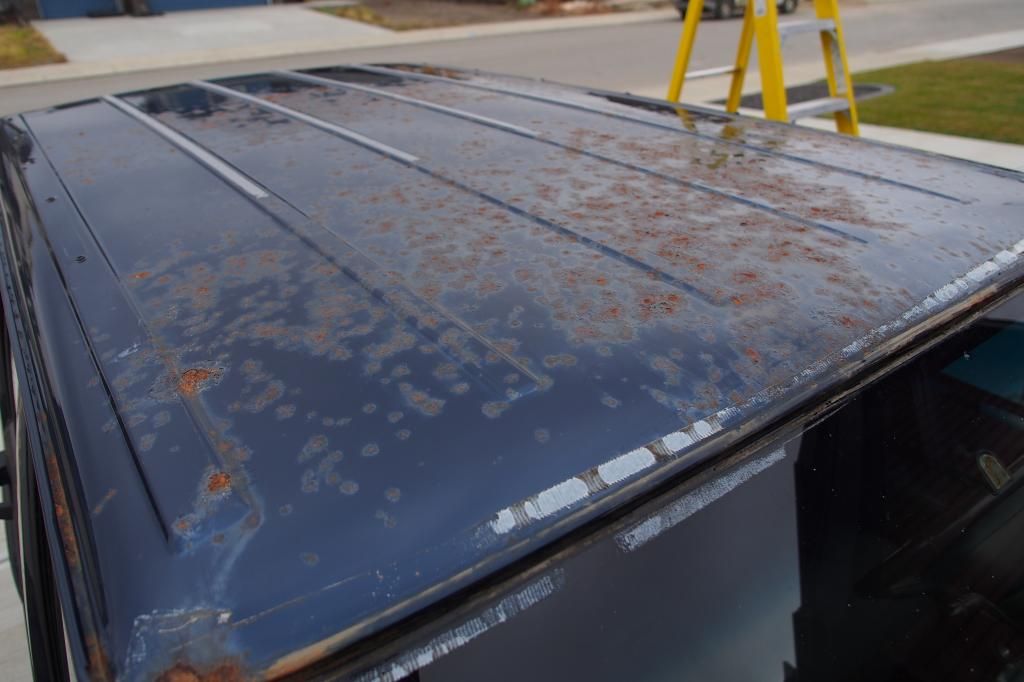


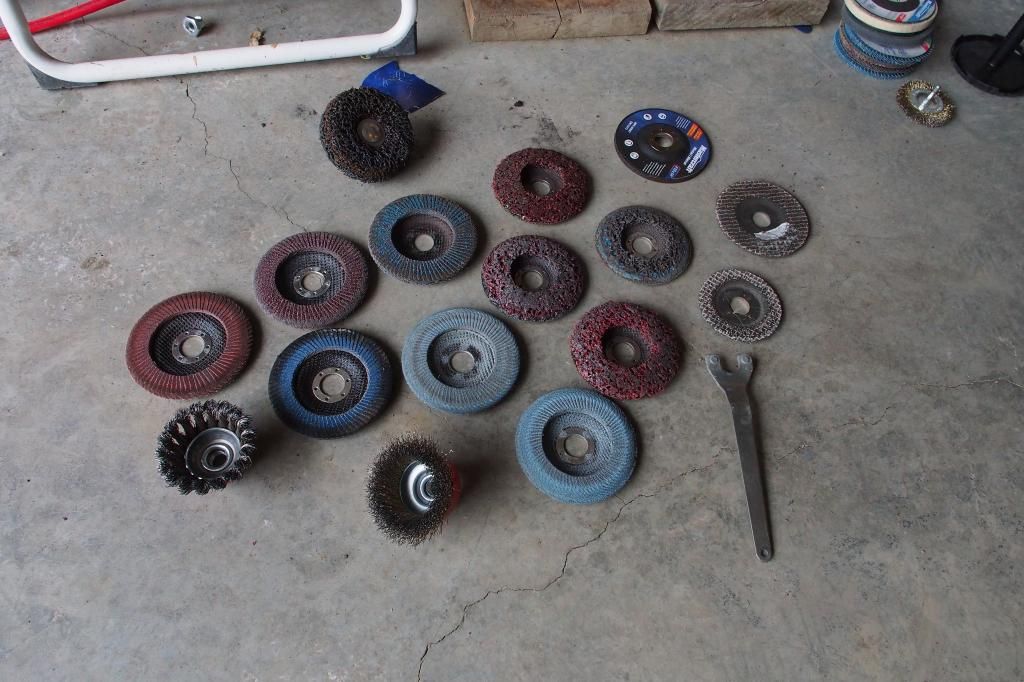
I figured I'd start with the roof, and the next two days became a driveway located sacrifice of many many many a flapper disc and wire wheel.  


Part way through I was looking like this:
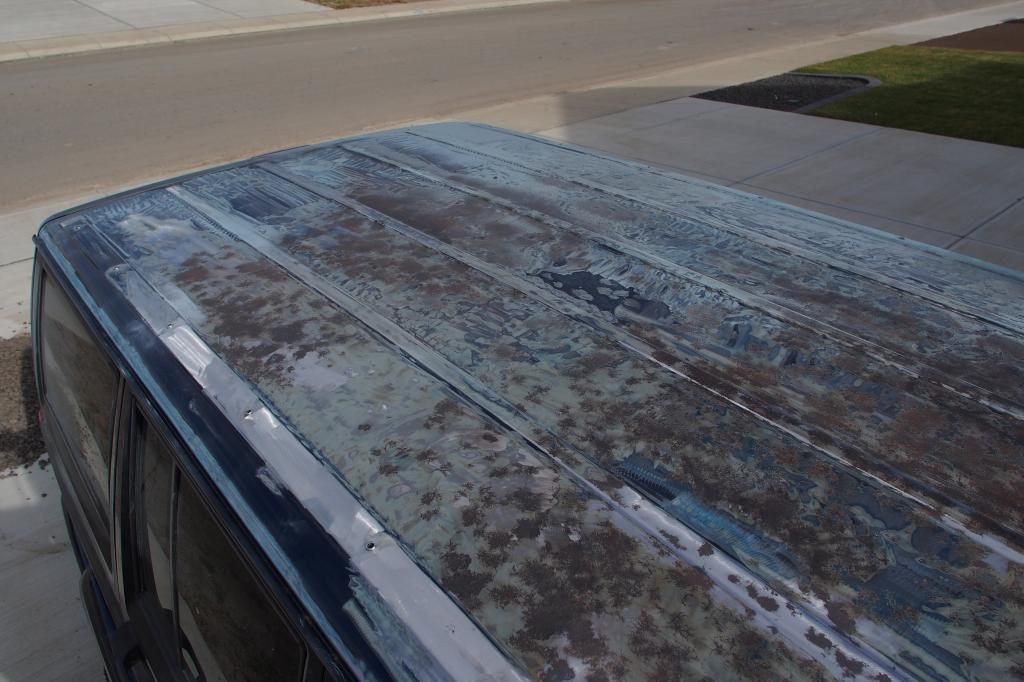


The wire brush was starting to make the hole grow, and this was getting me worried.
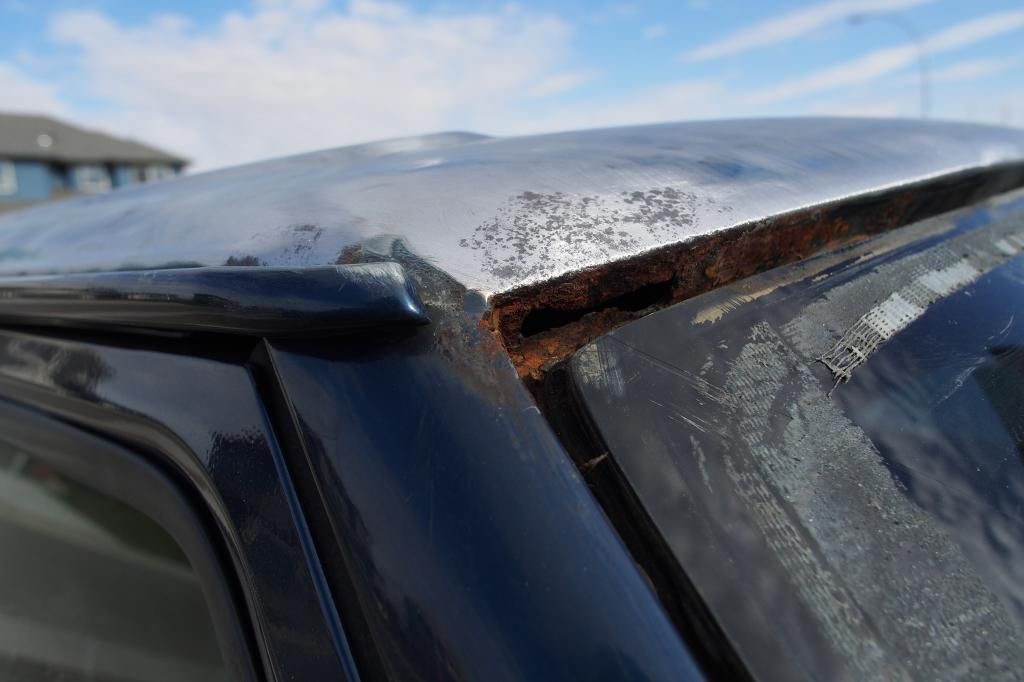


None the less, I soldiered on.  I finished grinding down the roof, gave it a good clean, and hit it with a few layers of rust converter.  After cleaning that up, I sprayed two coats of self etching primer and decided to pull the windshield.  With the glass out, I was able to start cleaning up the windshield frame, and kept watching things get worse and worse in front of my eyes.  Not only did the top hole keep growing......
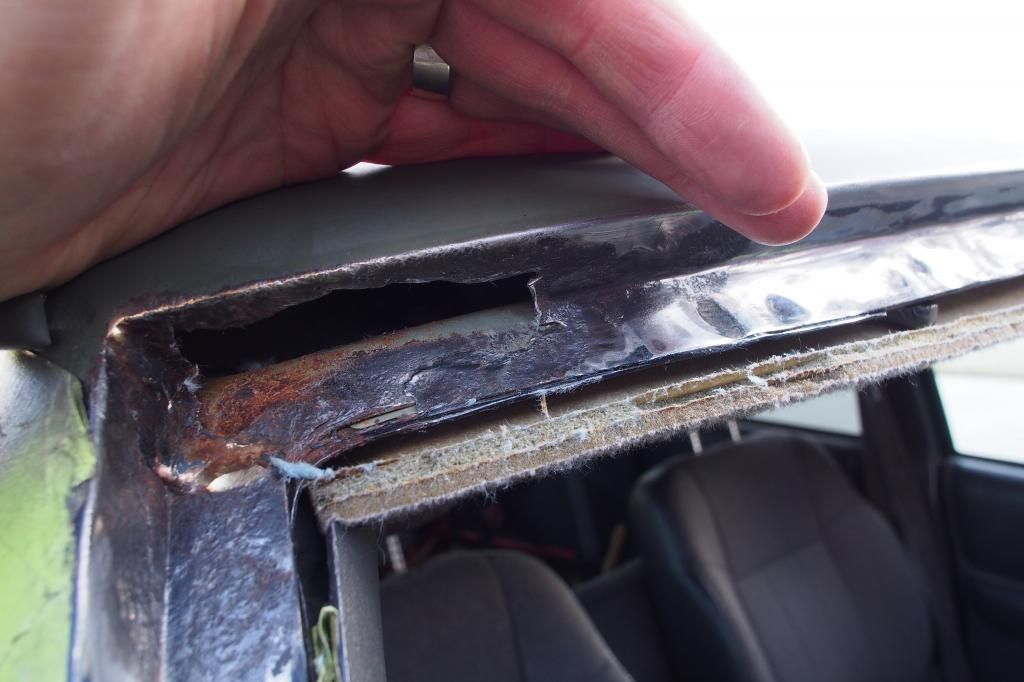


But a couple holes decided to appear in the bottom too.  GULP!
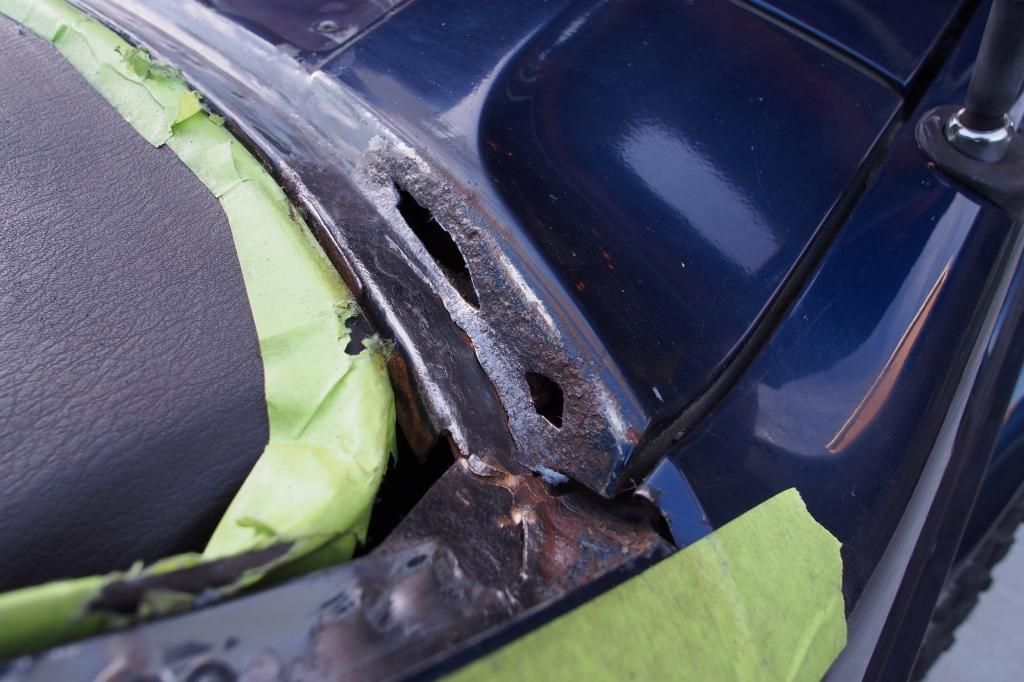


I tried not to freak out too much, and cleaned up the frame, and slathered on some more rust converter before it was time to park the Jeep back inside, ponder the mess I'd made, panic a bit more, and eventually call up Pook.
« Last Edit: October 27, 2014, 08:23:42 PM by bRIBEGuy »
'00 XJ Classic, 3" OME lift, 32's, custom stereo.

Offline bRIBEGuy

  • Budget Lift
  • Posts: 292
Re: bRIBEGuy's 2000 XJ
« Reply #80 on: October 27, 2014, 08:23:16 PM »
While I was  convinced the Jeep was dead, Pook was convinced I was being overly dramatic.  He showed up with a portable welder and some sheet steel, and laughed at my panic situation.  One mans tragedy is another mans idea of fun.............

Pook schooled me on some metal work, and with some semi-ghetto equipment, we bent up some patch plates.  Bottom one got tacked in without issue.


And continued along without much incident.


'00 XJ Classic, 3" OME lift, 32's, custom stereo.

Offline bRIBEGuy

  • Budget Lift
  • Posts: 292
Re: bRIBEGuy's 2000 XJ
« Reply #81 on: October 27, 2014, 08:28:35 PM »
Next up was the top patch.......same idea, more hassle.


Eventually the patch plate was in, but the welding blew a hole in what little was left of the roof metal.


Weld in the hole.  Grind down the bead.  Open a new hole.

Repeat 3 or 4 times.

ACK!!!

Eventually Pook got it patched up, we ground it down a bit, and relaxed with a quick rip in Mortis (such a sweeeet rig!).  The XJ went back into the garage for the afternoon, and the work resumed the next morning.............
'00 XJ Classic, 3" OME lift, 32's, custom stereo.

Offline ngrover

  • Stocker
  • Posts: 11
    • Xpedition XJ-Eh!
Re: bRIBEGuy's 2000 XJ
« Reply #82 on: October 28, 2014, 10:54:06 AM »


Believe it or not, but the roof on my 99 XJ is worse. The water would pour inside when it rained. Good on you for fixing it, in my case I threw in the towel and have gone down the path of parting it out. One thing I did notice though, when I pulled out the headliner, is that there was all sorts of welding spatter under the roof. I then read somewhere that there was a bad run of XJ's around 1999 in which the assembly line welders must have been spraying a lot of spatter and that is why many XJ's that were produced around that time have really bad rust on the roof.

I also have a 97 XJ that came from Winnipeg (rust capital) and the roof is spotless, zero rust.

Offline bRIBEGuy

  • Budget Lift
  • Posts: 292
Re: bRIBEGuy's 2000 XJ
« Reply #83 on: November 02, 2014, 08:26:36 AM »
Grind grind grind.

Grind grind grind.........4.5" grinder.  Dremel.  Stones.  Flap discs.


After the grinding was done, and with little to no room in my own unheated garage, I figured the Jeep needed to be somewhere roomier and warmer for the rest of the priming/paint work.  Luckily with a snap of my fingers, the Jeep magically moved locations, and I was back on track (sounds legit, right?).


Started to mask everything off to shoot the last bit of etching primer.


And started to spray.

'00 XJ Classic, 3" OME lift, 32's, custom stereo.

Offline bRIBEGuy

  • Budget Lift
  • Posts: 292
Re: bRIBEGuy's 2000 XJ
« Reply #84 on: November 02, 2014, 08:31:07 AM »
After a day or so, it was time to tackle a minor amount of bondo work to build up the passenger side corner a bit.  Nothing that couldn't be handled in a quick evening.


A quick shot of primer, and things are looking good (imo).

'00 XJ Classic, 3" OME lift, 32's, custom stereo.

Offline bRIBEGuy

  • Budget Lift
  • Posts: 292
Re: bRIBEGuy's 2000 XJ
« Reply #85 on: November 02, 2014, 08:45:27 AM »
I managed to score a Friday off work, and this seemed like the perfect time to do the paint work.  A mug of coffee and a 7am start assured plenty of time to tackle the work, and I got busy with some 180grit sandpaper to rough up all the primer.


Blasted it clean with the compressor (yes, I opened the garage door...), and then cleaned everything up with acetone.  And now............masking.  Tape, tape, tape, plastic sheet, tape, brown paper, tape tape tape.  Good freaking times this part.......lol.


I had opted to go the "bedliner" route since I liked the way it looked, and figured it might be more durable.  First coat ended up taking about 35 minutes to apply with a brush and roller.  Much more of a PITA then I expected.


I waited an hour as per the cans directions, and then went to do up coat #2.  I figured for a more uniform look, that I would spray the second coat, and had picked up a Duplicolor bedliner gun to facilitate this.  Hooked it up to the compressor, droped the line into the can and..........nothing.  15 minutes of adjustment, air pressure changes, and various other tests later, I loudly exclaimed, "Well isn't this an unfortunate event" (or something like that... ;) ).  Set the gun aside, grabbed the roller, and just put on the (thicker) second coat by hand.  This one took a bit longer as I tried to ensure an even texture, and a minimum of "roll" lines.


Now being 5 hours into my garage day, I figured it was time to take a break.  Or rather the directions told me I had to wait two hours before pulling the masking, so I was sorta forced to take a break.  Cool.........just enough time to head to "Wheel Life Cycle" in Okatoks and pick up a new bike I had ordered.  Multitasking Friday FTW!
'00 XJ Classic, 3" OME lift, 32's, custom stereo.

Offline bRIBEGuy

  • Budget Lift
  • Posts: 292
Re: bRIBEGuy's 2000 XJ
« Reply #86 on: November 02, 2014, 08:52:49 AM »
Just over two hours later, and it was time to pull the masking.

It went pretty smoothly, and only a few small spots created issues or lifted.  A few touch ups by hand, and the XJ was actually looking pretty reasonable in my own twisted eyes. 


Dropped the temperature in the garage from 22c to 16c, and decided to leave everything alone to harden for a few days.

Next step to figure out: Getting someone GOOD to come out and put in a new windshield.........
'00 XJ Classic, 3" OME lift, 32's, custom stereo.

Offline EEP

  • UberWheeler
  • Posts: 328
Re: bRIBEGuy's 2000 XJ
« Reply #87 on: November 02, 2014, 11:46:02 AM »
Nice job, I did the bedliner on my roof as well, seems to be holding up very well.

You have the same skidplate as me, I ended up modifing it as it hung down to low. Raised it up about 2" total.
01 XJ, RE 3.5" lift, Smittybilt XRC front & rear bumper, X2O 8,000 lb winch, 33" MT/R's
, ARB snorkel, lockers and a bunch of other stuff
06 TJ, 2" lift, 31" Goodyear Territory's.
14 JKU, wife's urban 4X4.

Offline bRIBEGuy

  • Budget Lift
  • Posts: 292
Re: bRIBEGuy's 2000 XJ
« Reply #88 on: November 02, 2014, 12:02:07 PM »
You have the same skidplate as me, I ended up modifing it as it hung down to low. Raised it up about 2" total.

What did you do to modify it?  I agree, it hangs WAY too low unless you have a t-case drop......which I do not.
'00 XJ Classic, 3" OME lift, 32's, custom stereo.

Offline raf2379

  • That CB Yapper
  • Posts: 752
Re: bRIBEGuy's 2000 XJ
« Reply #89 on: November 02, 2014, 02:22:46 PM »
looking good, I like how that turned out